

This is the third post in a series of tutorials about learning how to code. Check out other articles from the series here.
We've spent a lot of time so far introducing the idea of writing plugins for Minecraft and writing Java code. Also, in the last post, you installed and setup your IDE and JDK on your computer and created a Maven Java project. With all of that out of the way, it's time to write some code! By the end of this post, you'll have a basic plugin written and ready to test.
As mentioned in the first post, we're able to write plugins for a Minecraft: Java edition server because of the modding community that's existed for so long. The most prominent software are Spigot, Paper, Sponge, and Forge.
The most widely supported software (in terms of updates and number of existing plugins) is Spigot, so we will use that in this tutorial. You can learn more about Spigot here. (The other software - Paper, Sponge, Forge, and more - are great too! Consider trying them out after starting with Spigot.)
Now, let's get to writing your plugin!
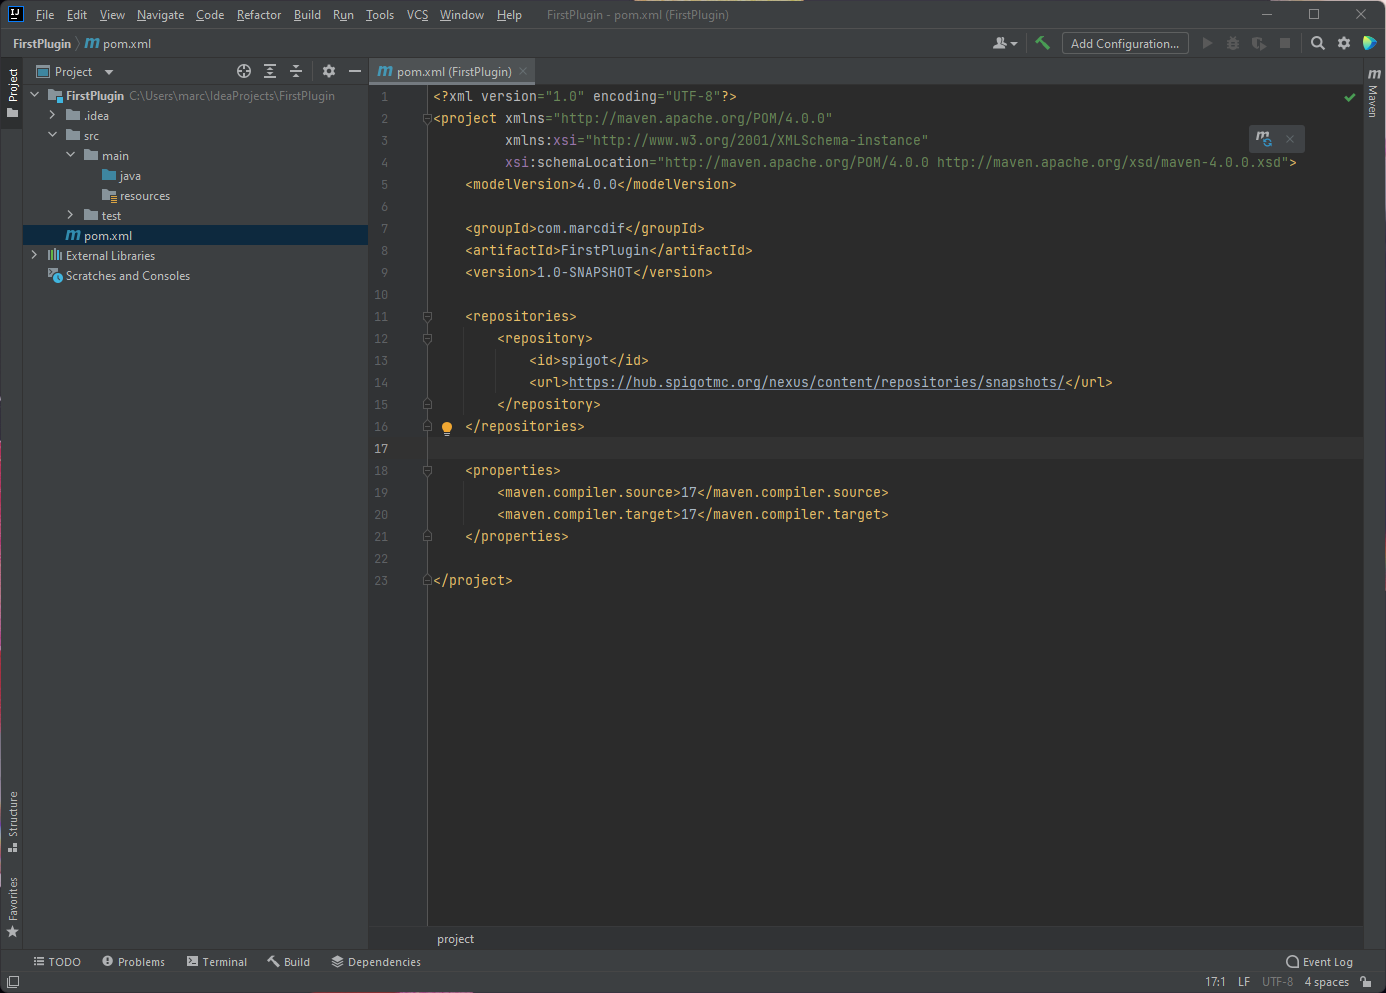
In order to do Spigot-specific tasks in your program (i.e. identify as a Spigot plugin, create and register commands, etc.) you need to reference the Spigot library in your project. This is what Maven is for - it is a dependency management tool, meaning it manages the libraries your project depends on. The pom.xml that was generated for you (shown below) is the main configuration file used by Maven.

The pom is written in XML (extensible markup language) format. It is similar to HTML if you've ever seen/written that before. Everything is managed through "tags" - for example, <version>1.0-SNAPSHOT</version> defines the version of your plugin. <version> is the opening tag and </version> is the closing tag.
Before defining dependencies, we first need to define the repositories Maven should get those dependencies from. These repositories (or repos for short) are publicly available archives full of many Java libraries. The URL for Spigot's repository is: https://hub.spigotmc.org/nexus/content/repositories/snapshots/.
To format this in a way Maven can read, we will add the following block of code to the pom.xml:
<repositories>
    <repository>
        <id>spigot</id>
        <url>https://hub.spigotmc.org/nexus/content/repositories/snapshots/</url>
    </repository>
</repositories>
Multiple repos can be defined, which is why we open <repositories> before defining our specific <repository>. In our case, we only need one repo. You can place this block anywhere between the <project> and </project> tags:
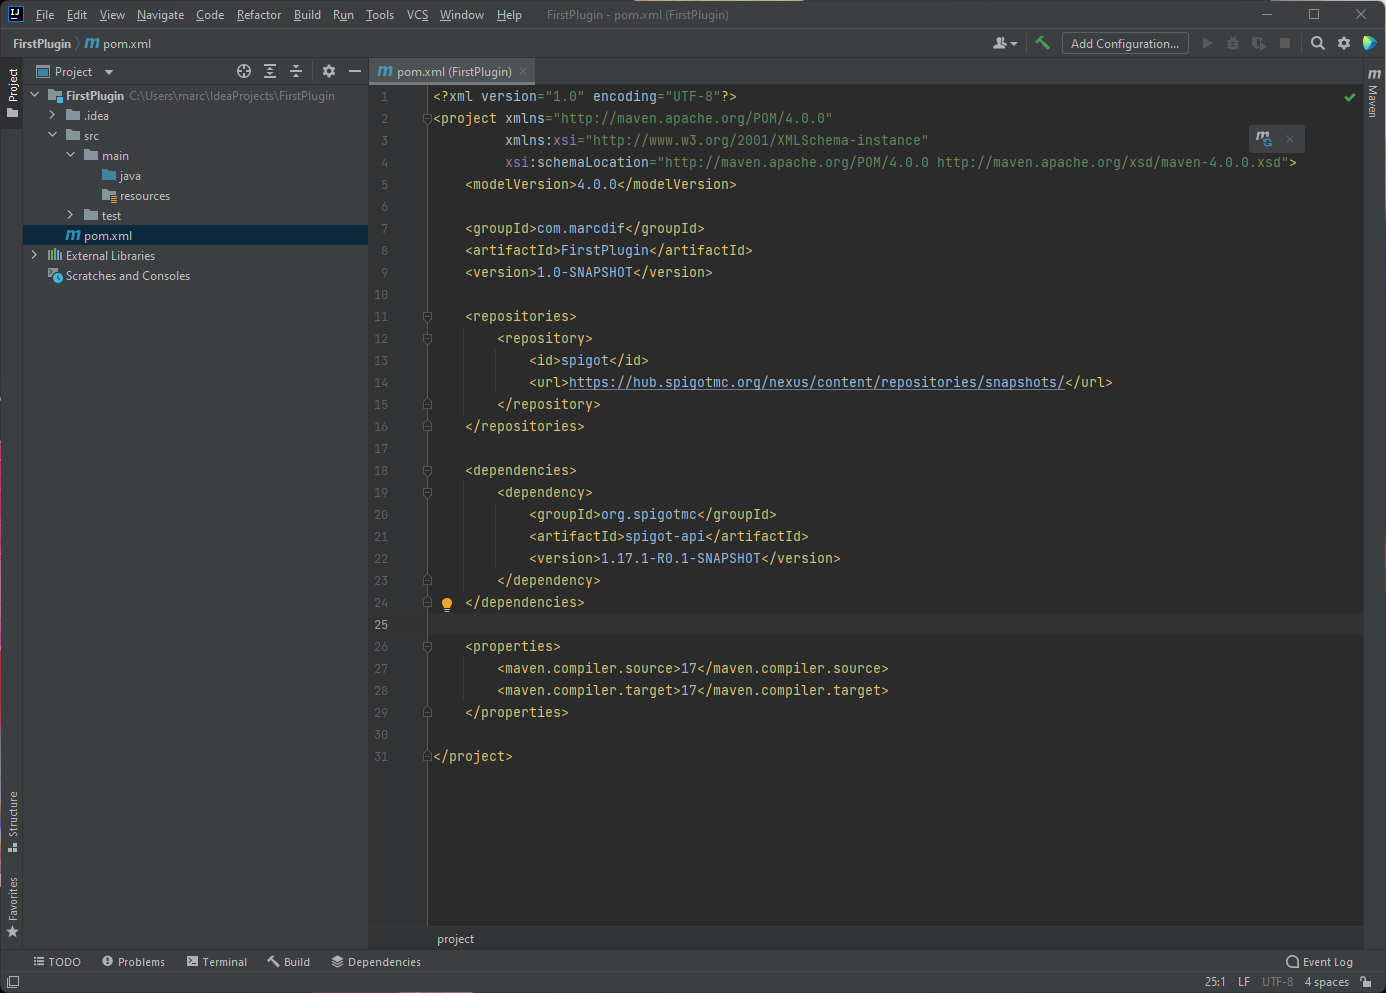
With the Spigot repo defined, we can now add our Spigot dependency:
<dependencies>
    <dependency>
        <groupId>org.spigotmc</groupId>
        <artifactId>spigot-api</artifactId>
        <version>1.17.1-R0.1-SNAPSHOT</version>
    </dependency>
</dependencies>
Just like with repos, it's possible to define multiple dependencies in our project. This is why <dependencies> is opened first, with a <dependency> block inside of that. Right now, Spigot is the only software we're dependent on.
You'll notice that dependencies require the same three pieces of info you provided when creating your plugin project - GroupId, ArtifactId, and Version. In this case, we're referencing version 1.17.1-R0.1-SNAPSHOT of org.spigotmc.spigot-api:
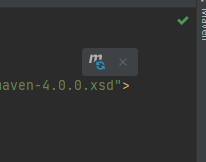
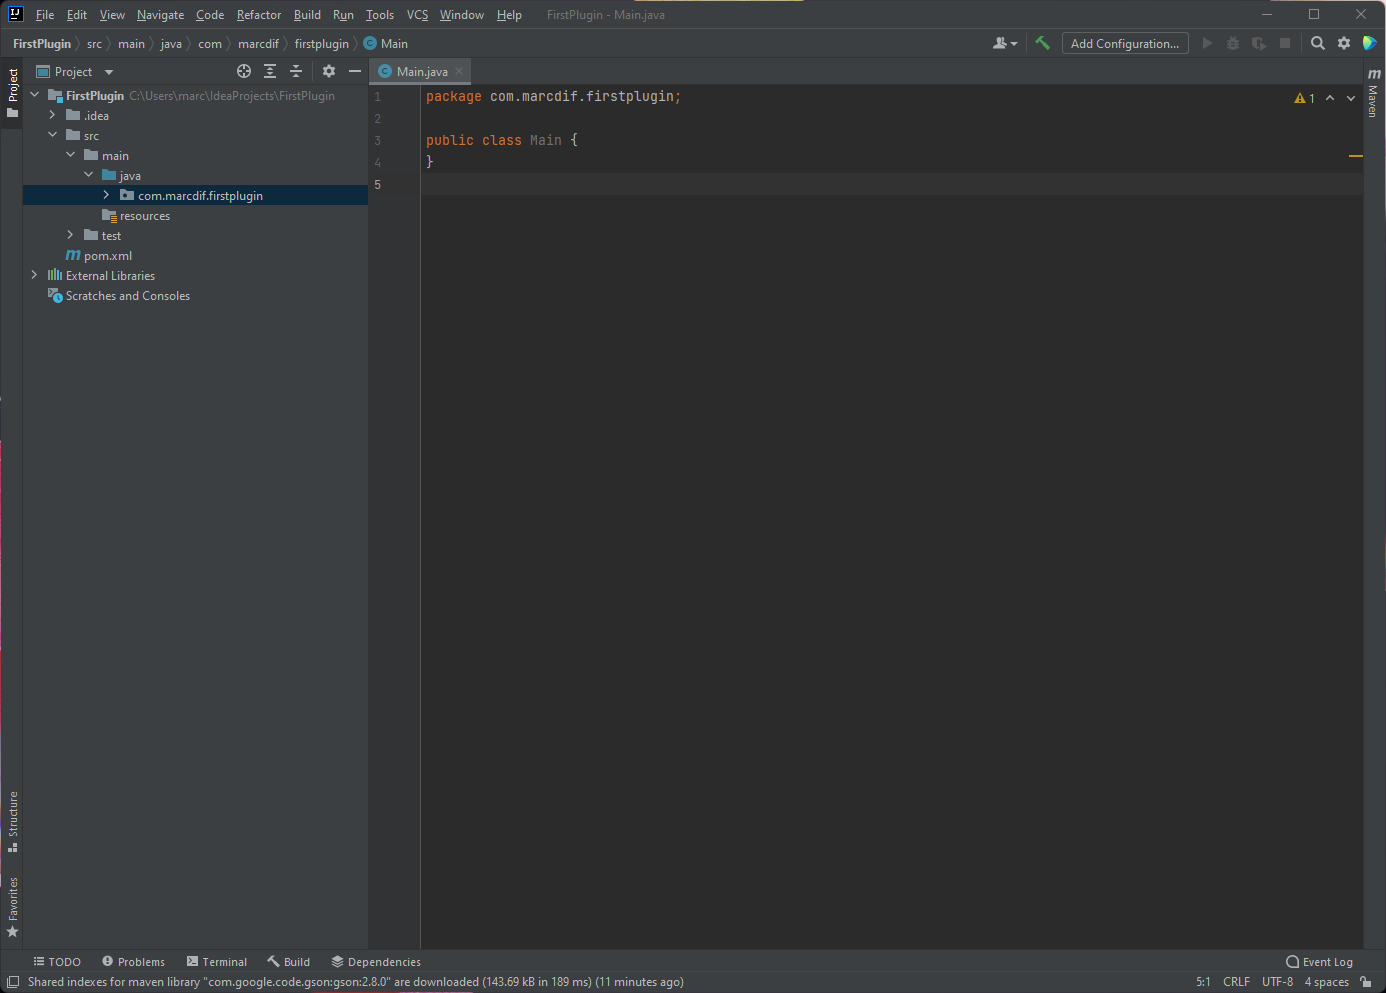
All that's left to do is have IntelliJ process our changes - click the "m" icon with a blue refresh symbol in the upper right-hand corner of the window:
Congratulations, now you're ready to write some code!
On the left side of the window in the "Project" tab, you'll see the project tree with all of the folders shown.

The top level contains two directories - .idea and src - and one file - pom.xml. We already know about pom.xml, and .idea is used by IntelliJ to store project-specific metadata. src is short for "source code", which is where our Java code is written.
Within src is main and test. main is where the program's code is written, and test is where you can optionally write code that tests the main code. This type of testing is called unit testing. We won't go into that in this tutorial, though it is a very important and useful tool for writing and maintaining reliable programs.
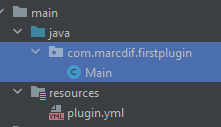
Finally, within main is java and resources. java is where we will (finally) write Java code. resources is where you can store files you might want to reference in your program, such as a config (configuration) file.
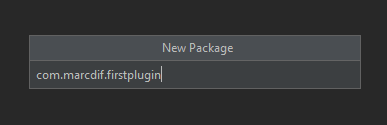
Right-click on the java folder and create a New -> Package:

In the "New Package" window that opens, type your program's Maven "GroupId" and "ArtifactId", all lowercase, and joined with a period. For example, my values of com.marcdif and FirstPlugin become com.marcdif.firstplugin. Press Enter to create it:
Now, right-click on the newly created package and create a New -> Java Class:

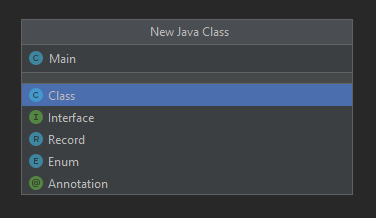
In the "New Java Class" window that opens, write the name "Main". This is the main Java class for your plugin - everything starts from here. You can give it any name you want; Main is just a recommendation. Select "Class" if it isn't already selected, and press Enter to create it:
Congratulations! You now have your first Java class:
Java programs separate code into different files, or "Classes". Each Class can contain properties (such as a number field) and methods (such as a block of code that multiplies a number by 100).
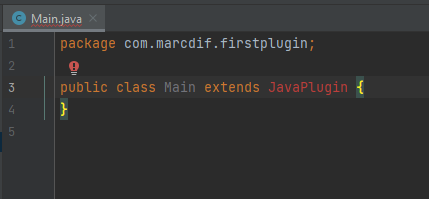
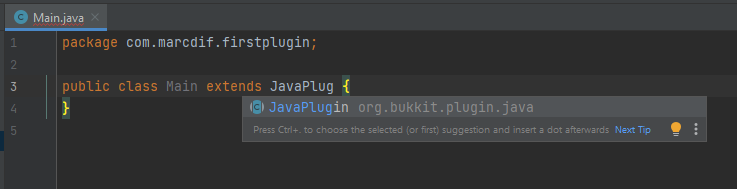
In our case, we're not just writing a general Java program - we're writing a Spigot Java Plugin. In order to do that, we have to follow some standards required by the Spigot library. The first is that the plugin's Main Class "extends" the "JavaPlugin" Class. Make this change by adding "extends JavaPlugin" after "public class Main" as shown below:
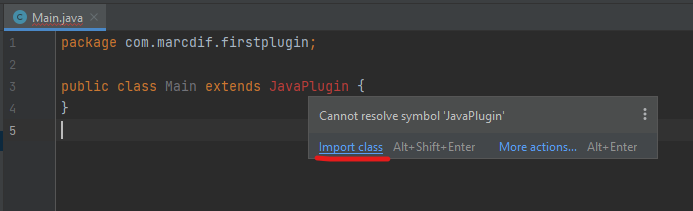
You'll notice the IDE has colored "JavaPlugin" red. That's because it isn't sure what Class we mean by JavaPlugin. There can be multiple Java Classes with the same name. To help it out, we will import it. Hover over "JavaPlugin", wait for the tooltip to show up, and click "Import class":
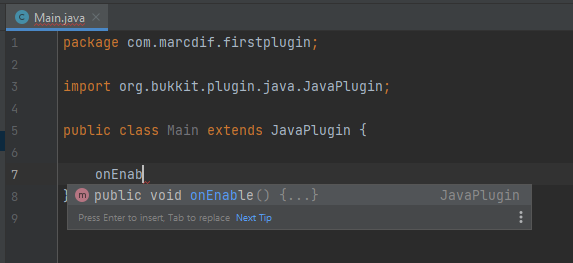
You can also autocomplete and import classes as you write them - such as by pressing Enter when you see the tooltip shown below:
The error should have gone away now that you have an import statement:

Now that our Main Class extends JavaPlugin, we can write some JavaPlugin-specific methods - onEnable() and onDisable(). These are blocks of code that will be executed, or run, when the plugin enables and disables (i.e. when the server starts up and shuts down).
Add a few lines between the curly braces after JavaPlugin. These curly braces define the boundaries of our Class.

To create the onEnable() method, start typing "onEnable". When you see an autocomplete suggestion, press Enter:

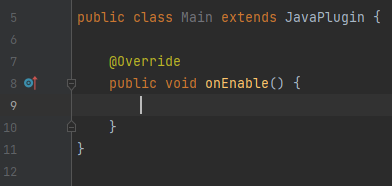
Let's go through this line-by-line.
On line #7, @Override means this "onEnable" method is a pre-defined method in JavaPlugin. We are "overriding" the pre-defined method with our own block of code. When Spigot goes to enable our plugin, instead of running JavaPlugin.onEnable(), it will run our Main.onEnable().
On line #8, public means this method can be called by any class, from anywhere. That gives Spigot permission to call it. A method can also be private (only methods within the same class can call it) and protected (only methods within the same package can call it).
Also on line #8, void means this method returns nothing - it returns a void. Methods can be written to return something. For example, public int addNumbers(int x, int y) might return the sum of two integers, x and y. In this case, we aren't returning anything, so we specify void.
Again on line #8, onEnable is the name of our method. A method can have any name as long as it only contains letters/numbers and starts with a letter. Since we are "overriding" an existing method from JavaPlugin, our method must be named onEnable.
Lastly on line #8, the two parentheses are where we could require variables be passed into the method. In the example of public int addNumbers(int x, int y), the method requires you provide two integers - the first will be x, and the second will be y. We will get into methods with parameters later on. In our "onEnable" method, no variables are required, so we just write empty parentheses ().
From line #8 to line #10, there are curly braces which define the boundaries of our method. Everything between those two curly braces will be executed whenever this method is called.
On line #9, IntelliJ pre-fills the line super.onEnable();. What this line does is a little too complicated to explain right now. All you need to know is we don't need it. You can remove it.
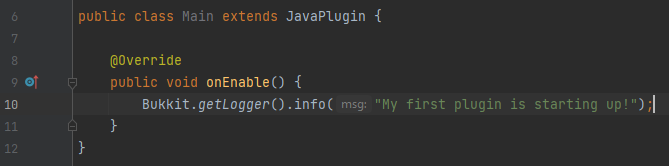
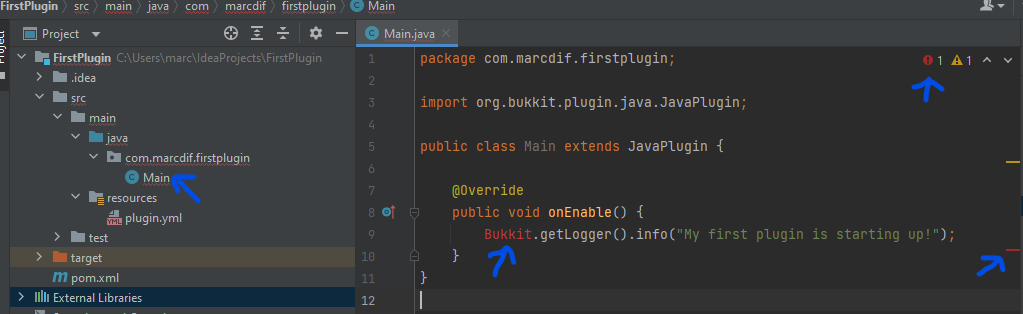
One common aspect of an onEnable method is to print out a message to the Spigot server's console log stating that the plugin is starting up. To do this, we can add the following line:
Bukkit.getLogger().info("My first plugin is starting up!");As you are writing the line, be sure to import the "Bukkit" class. You can also import it after the fact by hovering your mouse over it.
This line is your first Java statement! Let's go through this statement to see what it all does:
First, Bukkit is the Spigot server's main Class. There are many methods in the Bukkit class, like Bukkit.getOnlinePlayers(), Bukkit.isHardcore(), and even Bukkit.shutdown().
In our case, we are calling Bukkit.getLogger(), which returns a Logger class with its own message logging methods. The three most common methods are Logger.info(), Logger.warning(), and Logger.severe(). In our case, we are calling Logger.info(), which means our message will be printed to the console with a "[INFO]" prefix.
You'll notice, however, that we are writing Bukkit.getLogger().info() instead of Logger.info(). That's because we aren't using just any logger class - we're using the Bukkit logger class. The specifics of why are a little too complicated to explain right now. We will cover more on what's called "object-oriented programming" later on.
Next, within our .info() call, we provided a message, or a String. In Java (and most programming languages), a String is the name for a collection of Characters. A Character is any visual symbol - "m" is a Character, "&" is a Character, a space " " is a Character, and even a double quote " is a Character. A String is created by surrounding Characters with double quotes. In this example, we are creating the String My first plugin is starting up!.
Lastly, we ended our statement with a semicolon ;. Semicolons are the most important (and sometimes the most annoying) part of writing a Java program. Semicolons are the signal to the JVM (Java Virtual Machine, remember?) that this statement is finished. Every statement must end with a semicolon, or your code will not compile or run.
After several thousand words across 3 articles, all we've done is write a simple log statement! You've probably realized it, but there is a lot to go over when it comes to writing a Java program - and specifically a Minecraft Java plugin. Half of the work is just spent setting everything up. Now that we have the basics out of the way though, adding more logic to our plugin will be much easier.
But, before we go any further, let's test what we have so far!
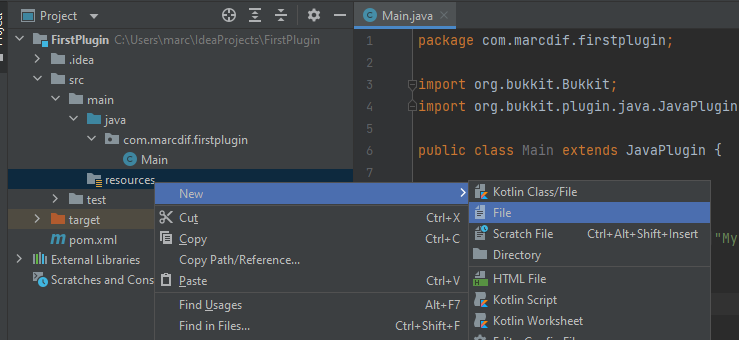
All Spigot plugins must have a plugin.yml file defined in the resources directory of your project. This file is used by Spigot to identify your plugin. Right-click on the resources directory and create a New -> File:
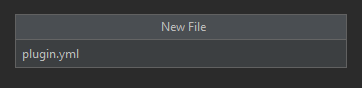
When prompted, provide the name plugin.yml:
All plugin.yml files must define three things - the plugin's name, the plugin's version, and the Main Java Class. There are other values you can provide too - read up on them here. Copy the following values to your plugin.yml file:
name: FirstPlugin
version: 1.0-SNAPSHOT
main: com.marcdif.firstplugin.Main
author: Marc
description: This is my first Spigot plugin!
Feel free to change the name, version, author, and description values to whatever you prefer. However, you must update main to match your plugin's folder structure. Make sure the package (com.marcdif.firstplugin) and Class name (Main) accurately reflect your plugin, or Spigot won't be able to run it.
When you are done, you can close the file. By the way - if you haven't already noticed, IntelliJ automatically saves files as you write. It's very convenient!
With our plugin.yml file defined, we can finally compile our plugin! On the right side of the window, click "Maven" to open the Maven menu. Expand the "FirstPlugin" tab, then "Lifecycle", so your menu looks like this:

There are two things we need to execute to compile (or build) our Maven project. First is clean - this cleans anything left over from previous builds. Second is package - this packages our Java code into an executable JAR file. This is the type of file all plugins are stored as.
Double-click clean to start that process, and a log should open at the bottom:
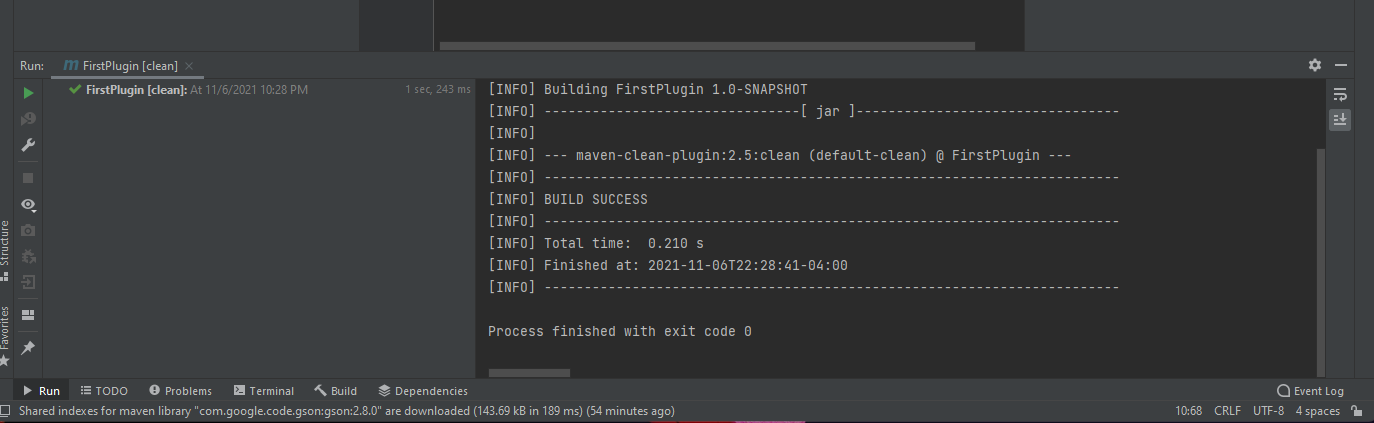
Once that finishes successfully, double-click package:
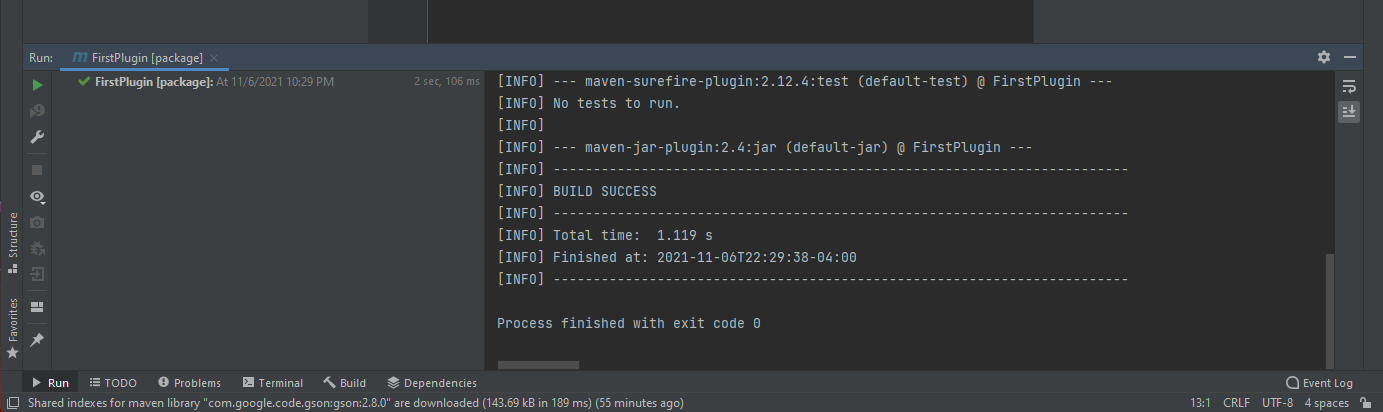
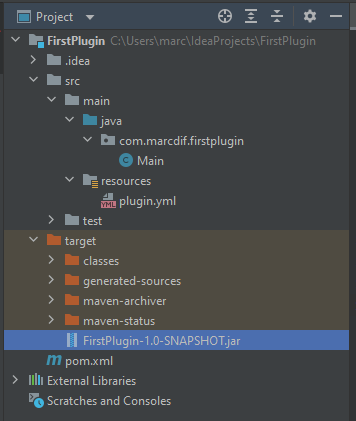
If your program compiled with no issues, you will see "BUILD SUCCESS" like above. Great! Your plugin JAR file is saved in your project directory in the target folder:
If your build failed... the exact cause can vary on a case-by-case basis. IntelliJ will try to be proactive and point out any errors before you even compile. For example, if you forgot to import the Bukkit class, you'll see it highlighted in red. The Main class file will also be underlined red:
The most common errors you might run into are:
- Not importing a class. This is demonstrated in the above example with Bukkit. Use your IDE to find the error and import the class.
- Forgetting a semicolon. Semicolons are required at the end of every statement. Use your IDE to find where a semicolon is missing and add it.
- Not closing a String with double quotes. A String must have a double quote
"at the beginning and end of it. If you don't close it, Java won't know when the String stops. Make sure your String has an opening and closing quote. - Bracket mismatching. This is a common yet not immediately obvious mistake. Like semicolons, curly braces (or brackets) are important to defining the structure of your code. Every "open" bracket
{must have a corresponding "close" bracket}. Additionally, brackets must be used to define Class boundaries, and method boundaries. With all that in mind, review your code and make sure your brackets are all properly defined.
If you're still having difficulty figuring out your problem, Google is a programmer's best resource. No matter how experienced a programmer is, they will still search the internet for answers to problems they run into. Take the error IntelliJ is showing you and search for it on Google. You will almost certainly find someone else has already run into that problem and provided a solution!
For further troubleshooting, the source code for this version has been shared in a GitHub repository here: Version 1 - Simple Logging. I strongly encourage attempting to debug your errors yourself first, before looking at the reference code.
At this point, you should have a JAR file for your plugin! It's a very simple plugin - it just logs a message to the server console on startup. However, it's a great first step! In the next part, we will create a Spigot server to use to test your plugin!
Part 1 - Introduction
Part 2 - Setting up your IDE and JDK
Part 3 - Writing some Java code
Part 4 - Testing Your Plugin
Part 5 - Coming soon!