
This is the fourth post in a series of tutorials about learning how to code. Check out other articles from the series here.
Last time, you finally started writing some Java code! You also successfully compiled your plugin into a JAR file and are ready to test it. By the end of this post, you'll have created a Spigot server and verified your plugin works.
To test your plugin, we need a Spigot server. You may already have some experience creating your own Spigot server. If that's the case, great! Simply drop your JAR file in the plugin folder and skip the next two sections. If you haven't, that's okay too! Starting a local server is pretty easy, though it can take some time to setup.
Like your plugin, Spigot runs from a JAR file. By executing that Spigot JAR file, the server starts up, and you can join! However, Spigot JAR files are not published directly by the Spigot team. That's because these JAR files contain proprietary source code from the official Minecraft server from Mojang.
This isn't a bad thing - it's required in order to create a modded server in the first place. However, Spigot cannot distribute this software according to Mojang's EULA (End User License Agreement):
The one major rule is that you must not distribute anything we've made unless we specifically agree to it.
Mojang is very generous by allowing people to create modded servers in the first place. It's completely within their rights to, for example, suspend a player's Minecraft account for joining a modded Minecraft server (Nintendo does this for people who jailbreak their Switches). Because Mojang is lenient when it comes to the modding community, it's important to respect their terms.
But if the Spigot JAR contains Minecraft code, and Spigot can't distribute it, how do I get it?
Great question! The Spigot team has thought of a genius workaround to this. A program they developed called BuildTools will download all of the software necessary to create a Spigot JAR and create it on your computer. That way software isn't distributed improperly, and you still get your Spigot JAR. In short, these are the things BuildTools does for you:
- Download the Spigot source code (Bukkit, CraftBukkit, and Spigot-Patches).
- Download the latest official Minecraft server JAR from Mojang.
- Decompile the Minecraft server JAR into .java files (a JAR is like a .zip file for Java code - decompiling is similar to unzipping a .zip file).
- Combine the official Minecraft .java files with Spigot's modifications.
- Build the Spigot JAR!
You can download the "Last Successful Artifact" of BuildTools from Spigot here.
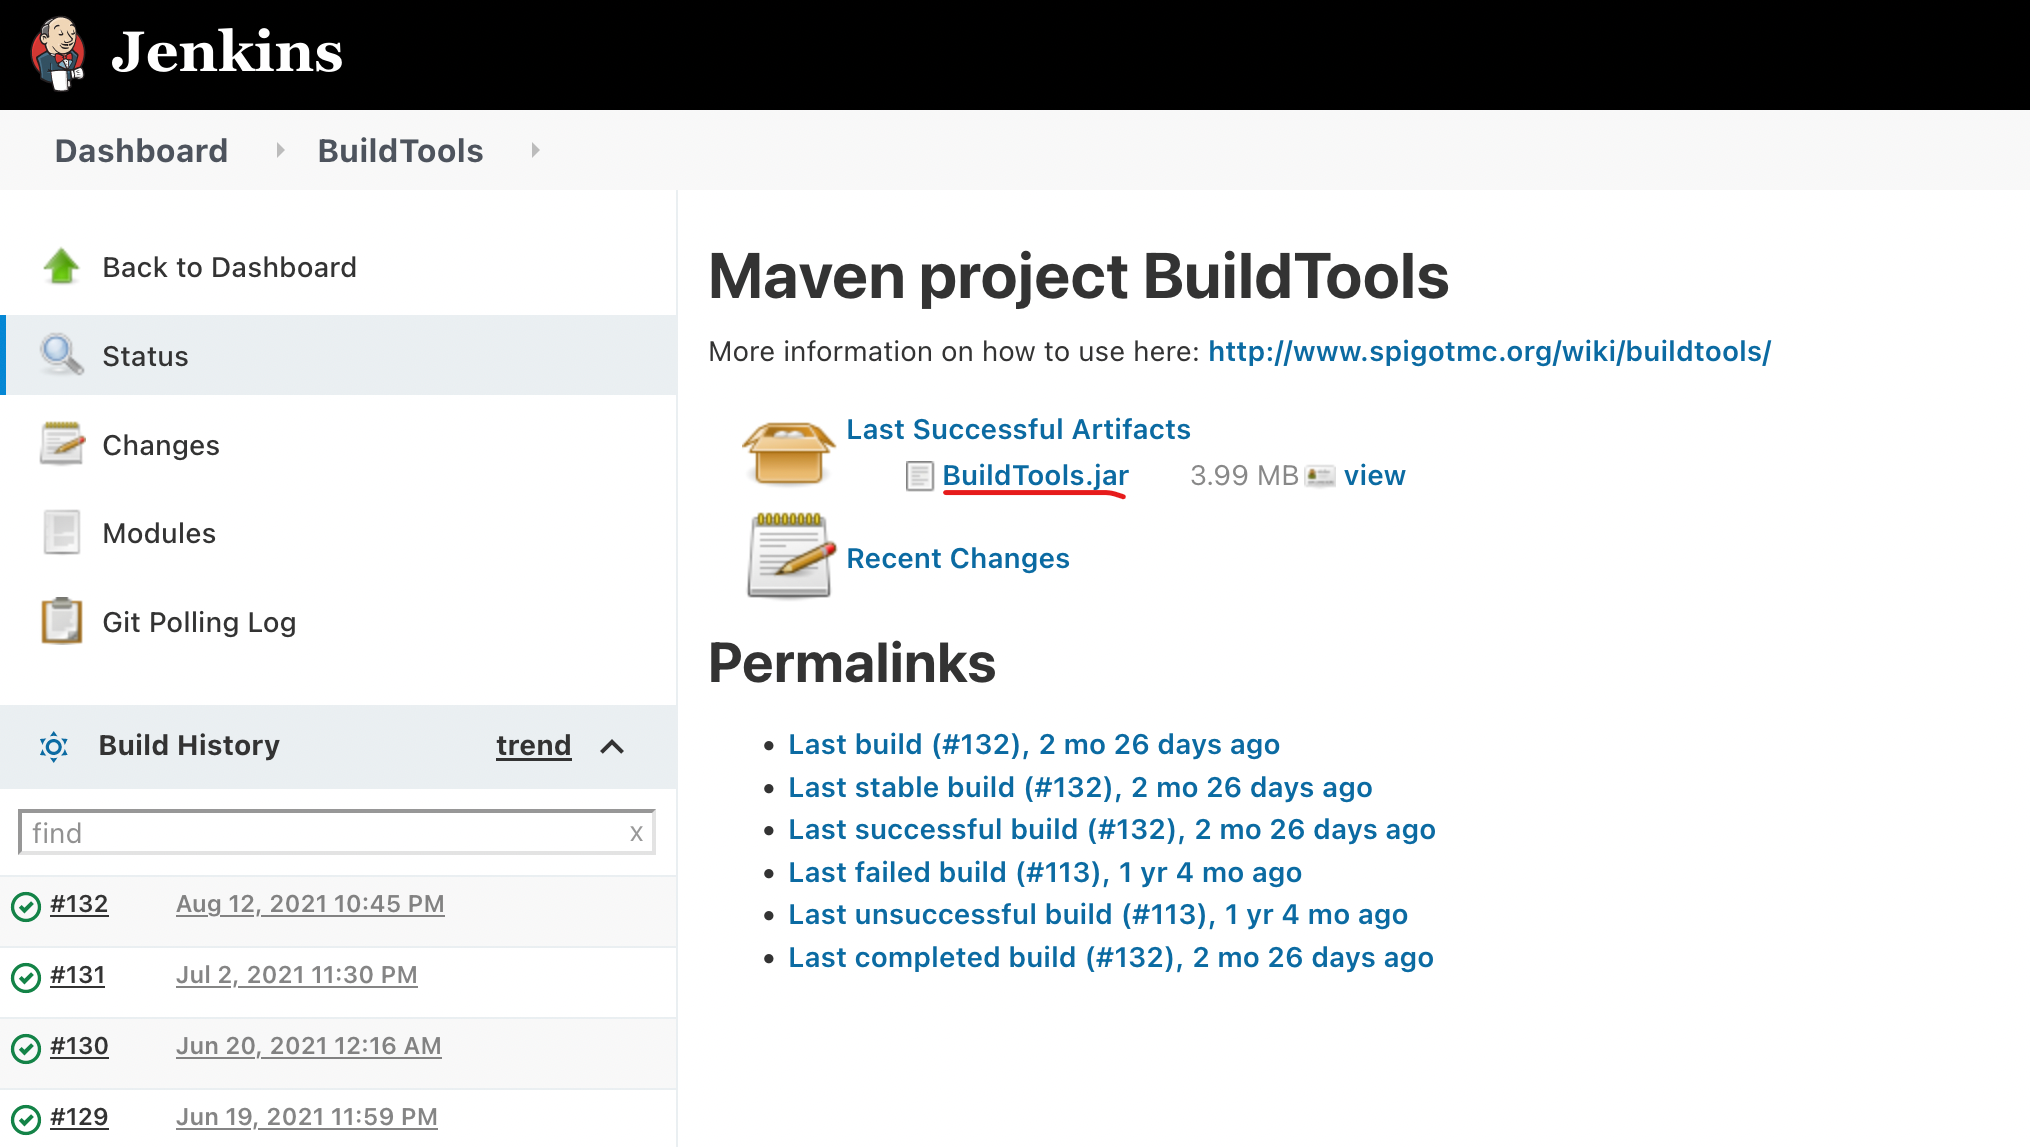
Create a new folder somewhere on your computer called BuildTools (in your Documents folder, on your Desktop - somewhere easy to find). Move the BuildTools.jar file into that folder.
If you're on Windows, you'll need to download and install one more program - GitBash. This program will give you a UNIX-like command line on Windows, instead of Command Prompt. This is needed for BuildTools to run properly.
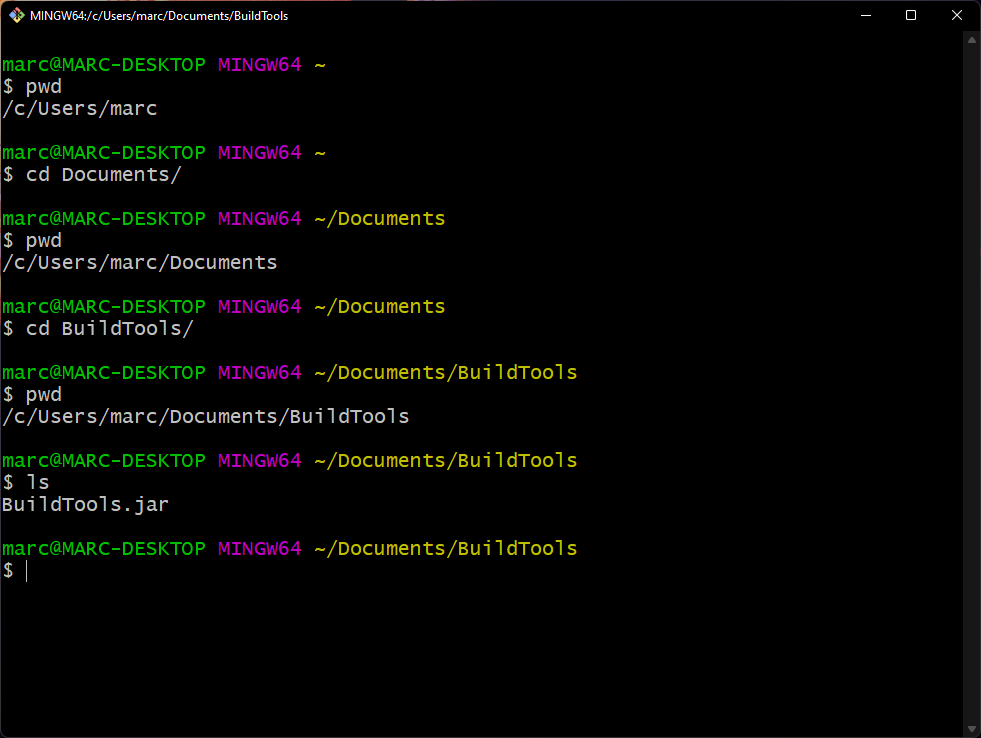
Download the latest version of GitBash from here. Launch the downloaded .exe file to install it. There are many options menus - you can leave everything at the default values. After it's done, you should be able to open GitBash and get a window like below:

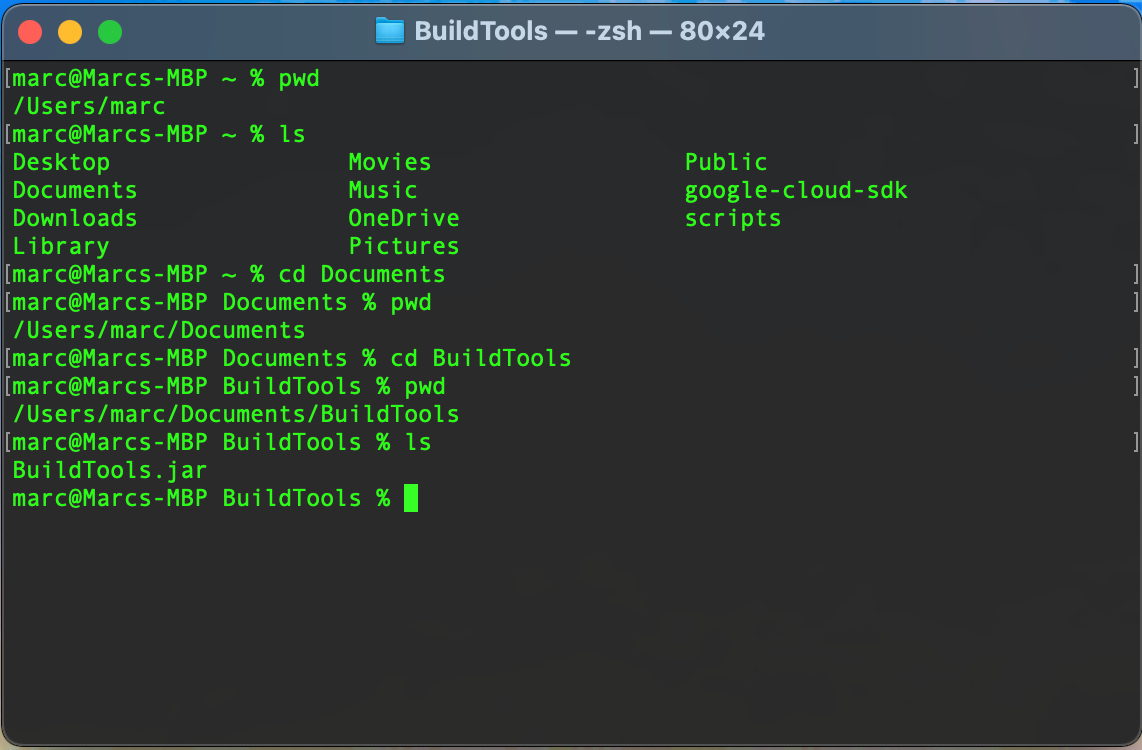
If you're on macOS or Linux, open Terminal and get a window like below:
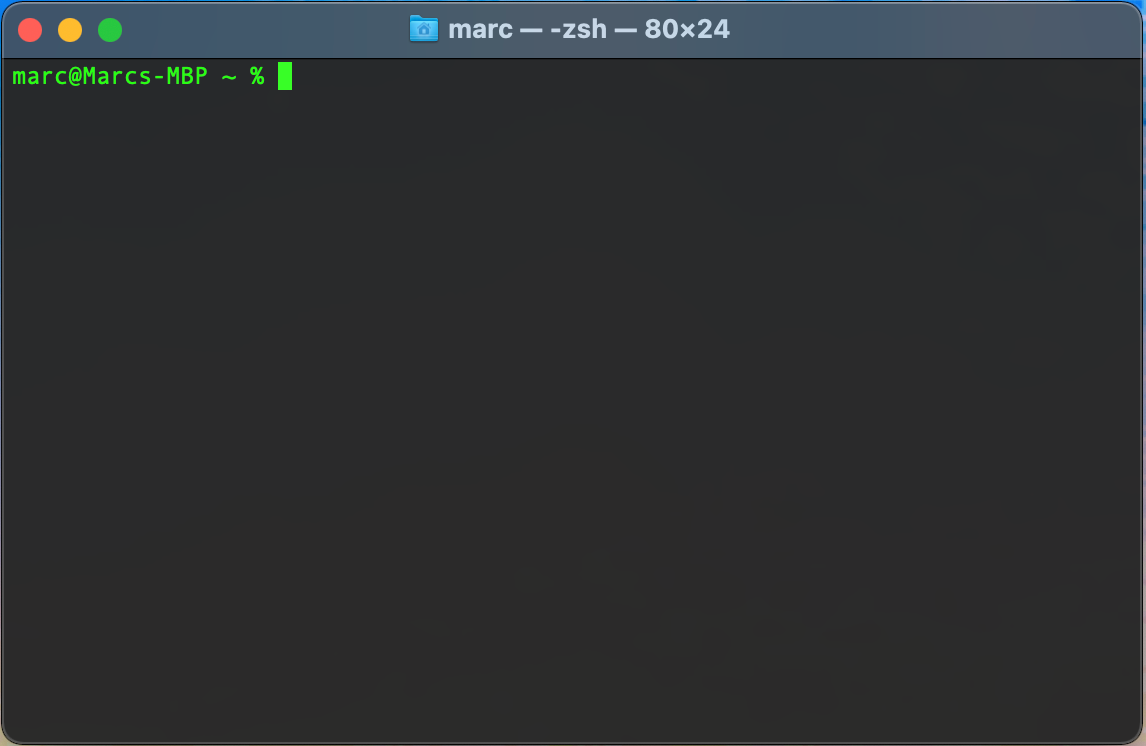
Note: This tutorial will show screenshots of the macOS Terminal. However, everything should be almost identical in Git Bash on Windows.
In your terminal - on whichever platform you're running on - you will need to navigate to where you placed your BuildTools JAR file. By running pwd (print working directory) and ls, you can get an idea of where you are.
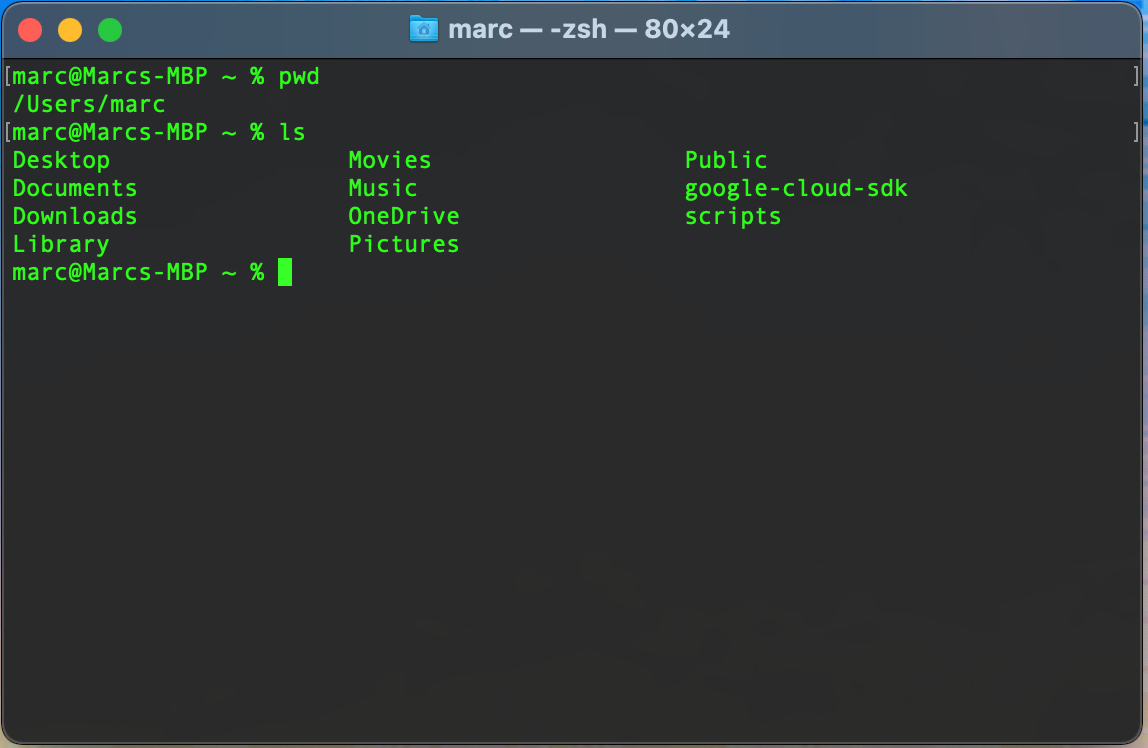
For me, my BuildTools folder is in Documents - /Users/marc/Documents/BuildTools. So, I will run cd Documents (change directory to Documents), followed by cd BuildTools. You can run pwd and ls after running cd to see where you've moved to.
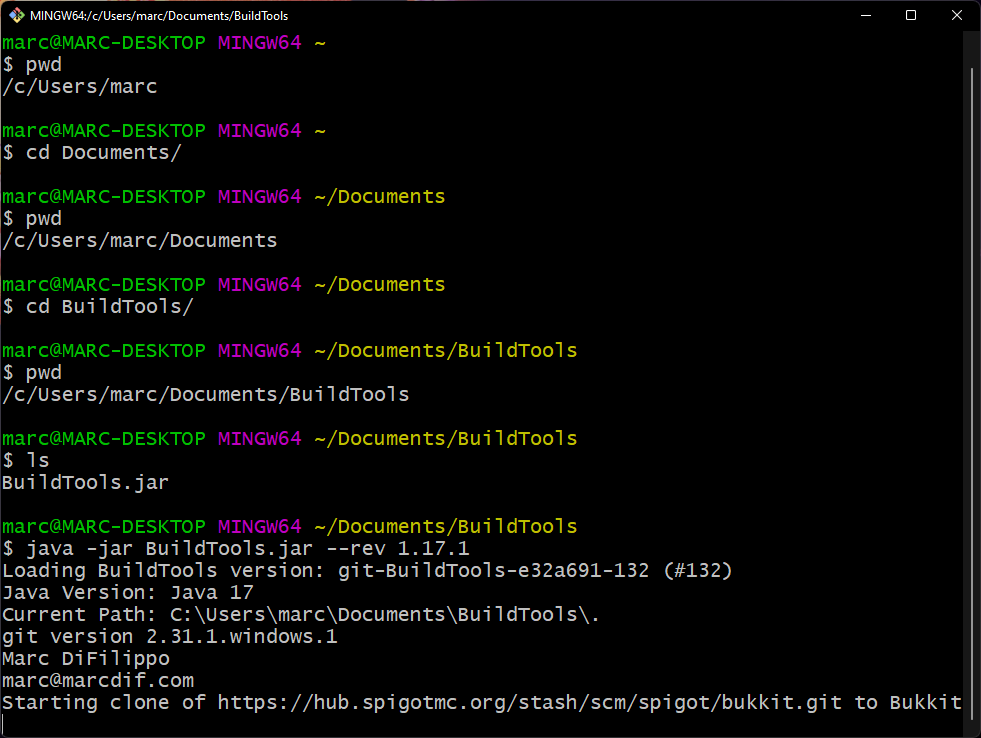
You'll see something similar in GitBash:
Now that we're in the same directory (or folder) as the BuildTools JAR, let's start it! Run java -jar BuildTools.jar --rev 1.17.1. This command tells java to start the BuildTools.jar file, and tells BuildTools to build Minecraft revision 1.17.1. That is the most recent version at the time of writing.
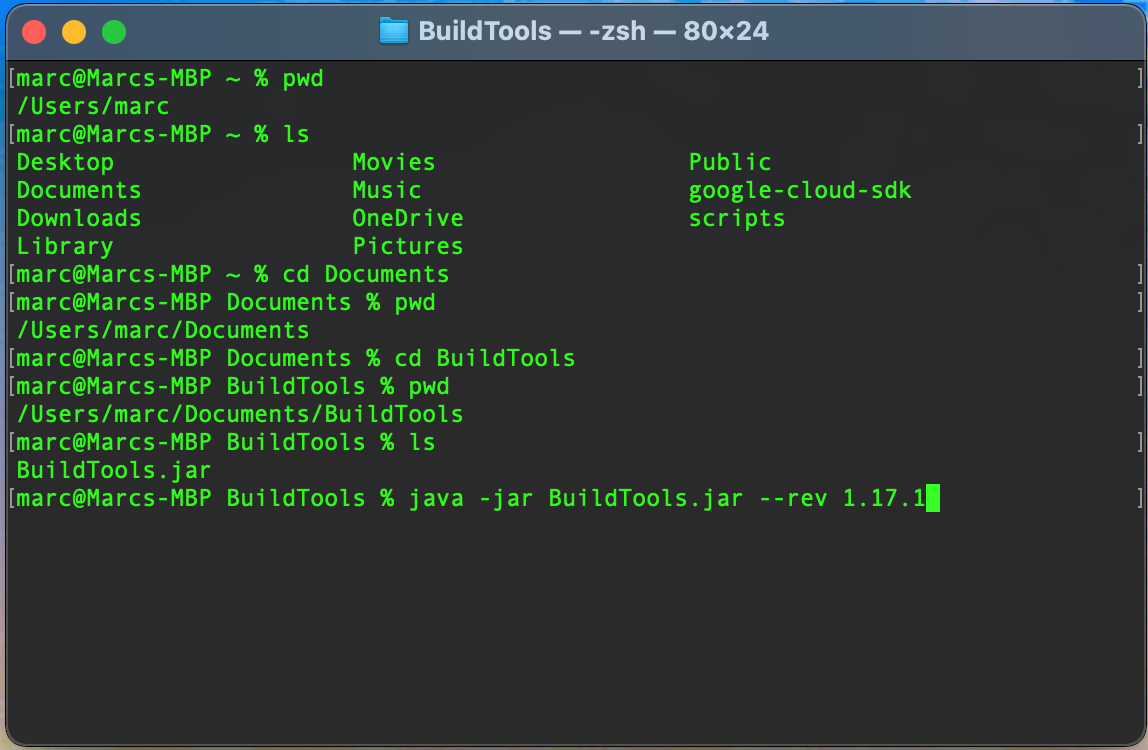
Press enter, and it will start!
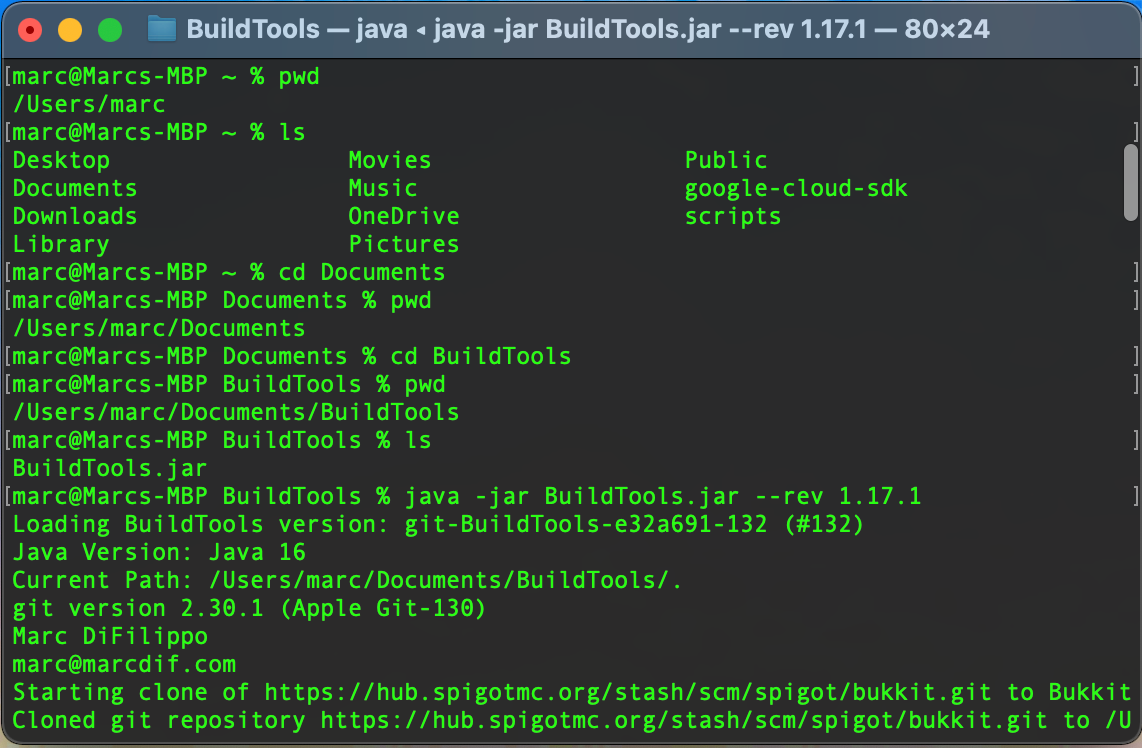
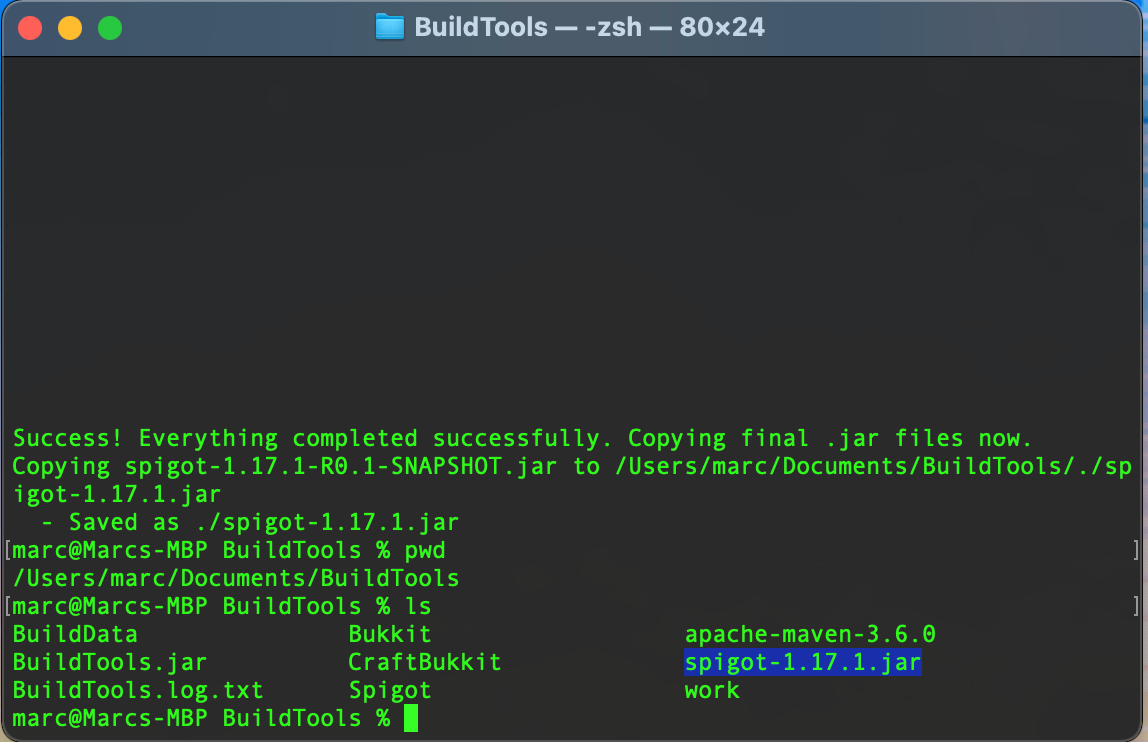
It will take some time for BuildTools to perform all of those steps - anywhere from 5 to 10 minutes. Once it's done, you should now have a spigot-1.17.1.jar file in your BuildTools folder. That's the Spigot JAR file!
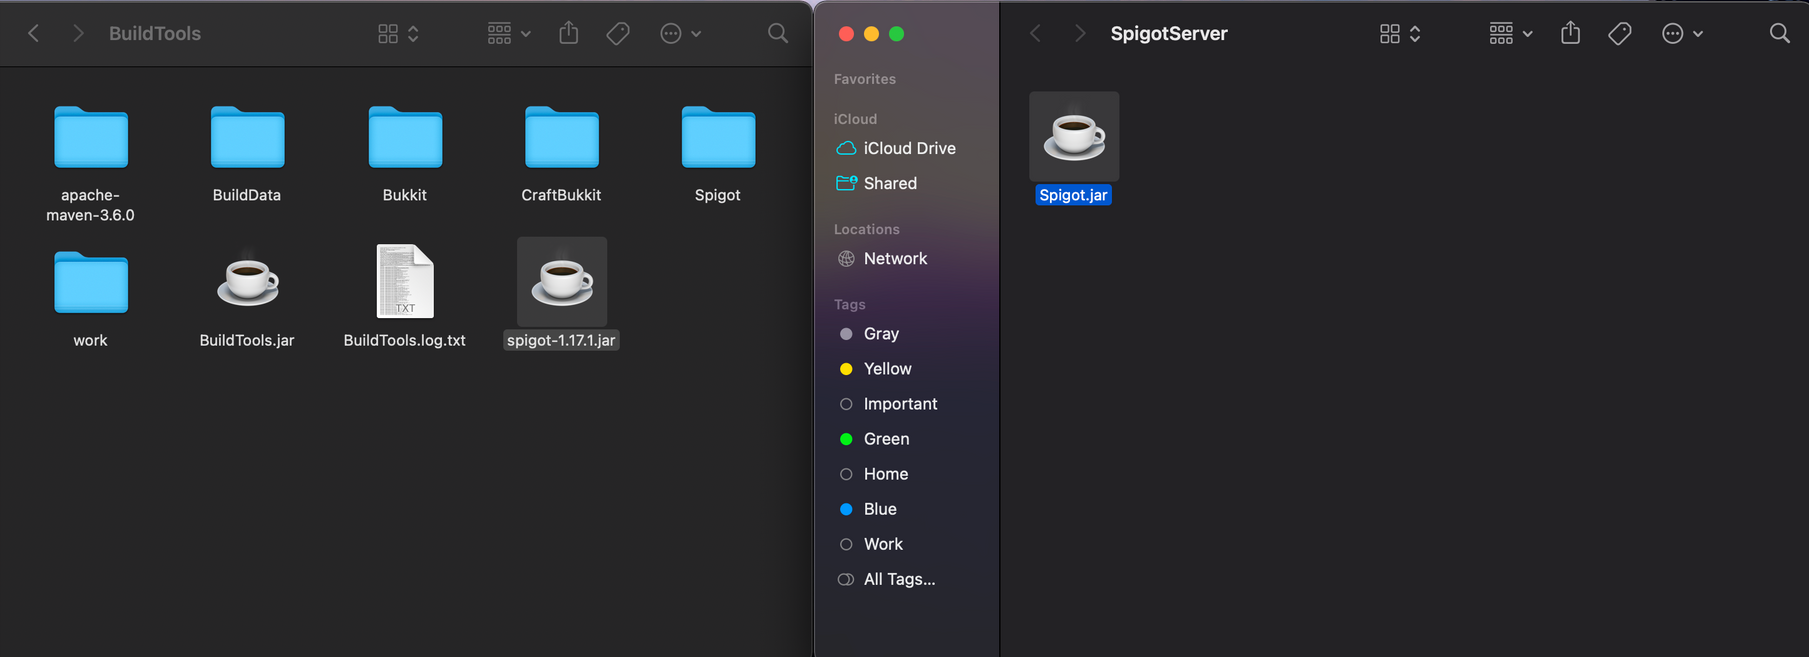
Create a new folder for your Spigot server somewhere on your computer. Again, I'd recommend either in your Documents or Desktop folder. Copy the spigot-1.17.1.jar file from the BuildTools folder to your Spigot server folder, and rename it to Spigot.jar.
Now, in your terminal, navigate to your Spigot server folder. To travel "up" a directory (i.e. from Documents/BuildTools to Documents), run cd ...
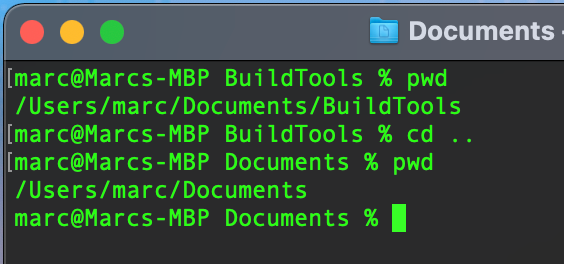
Then, I'll run cd SpigotServer to move into my Spigot server folder.
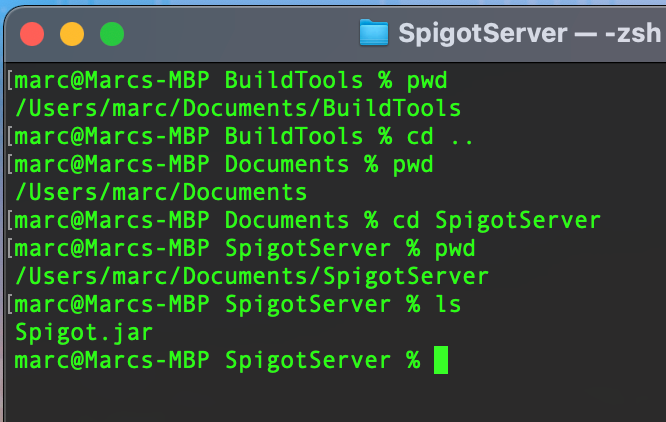
Finally, to start my Spigot server, I'll run java -jar Spigot.jar!


Surprise! One last step - you need to agree to Mojang's EULA before starting your server. Spigot could technically modify the server so that you don't need to do this. However, again, it's important to respect Mojang's terms when modding their server software. Let's edit the eula.txt file.
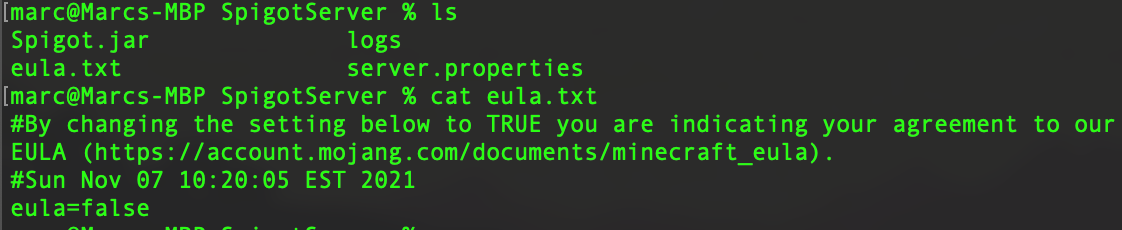
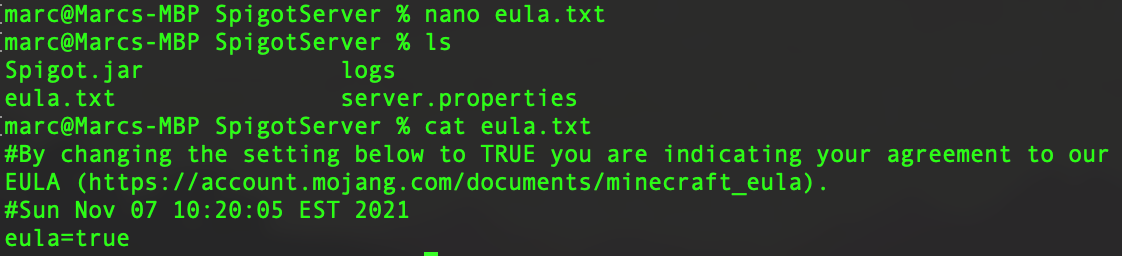
If you look within the eula.txt file, you'll see it has one value: eula=false. After reviewing the EULA at the provided URL, we'll change eula=false to eula=true.
You can edit text files in the command line with the nano command. You can also edit them with a visual program like Notepad, Visual Studio Code, TextEdit, etc. I'll demonstrate with nano, though any means of editing the file is sufficient.


I prefer nano to other command line text editors like vi and vim because of its simplicity to use. There are definitely people who disagree though! Like with your IDE, use what you're comfortable with.
To edit with nano, navigate by moving your cursor with your arrow keys.
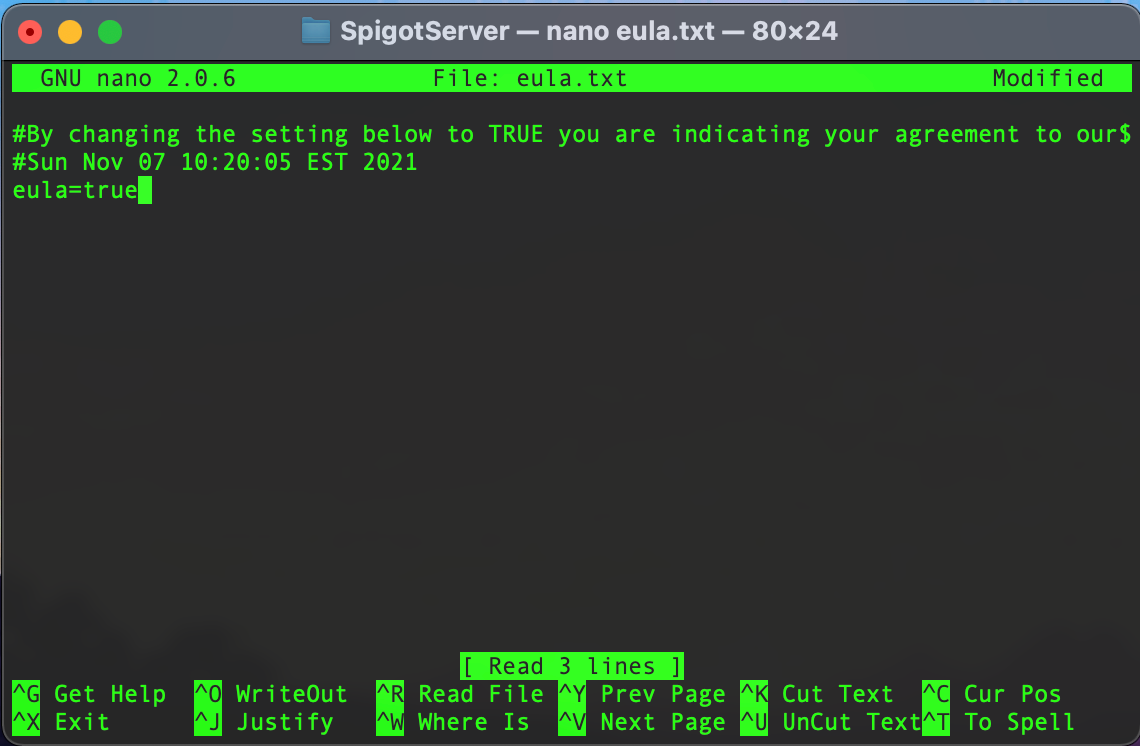
When you've finished making your changes, run CTRL+X to exit - you'll be prompted to save the file. Type "Y" to agree, "N" to discard your changes, and "CTRL+C" to cancel exiting and stay in the file.

Next you'll be prompted for the file name to save your changes to. Leave the value at eula.txt and press Enter.

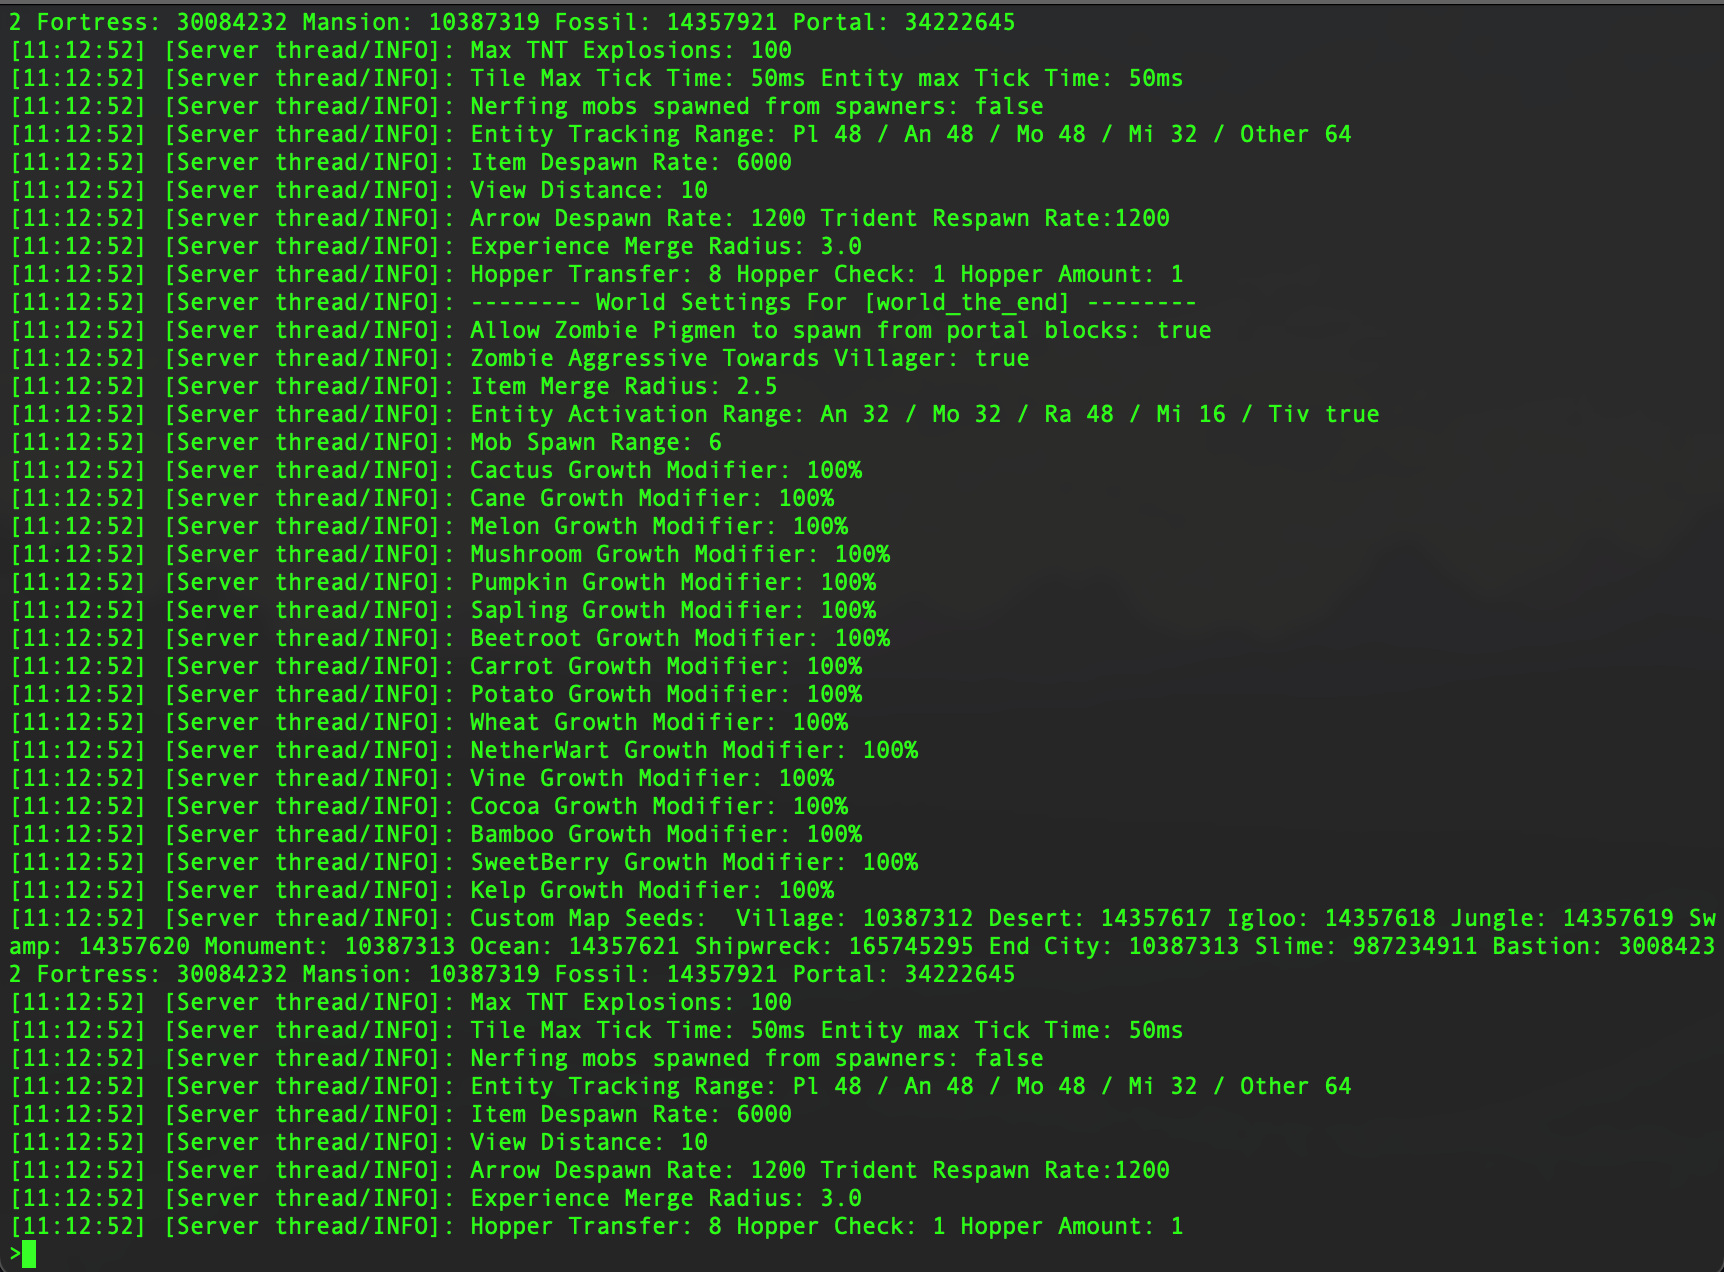
You're now ready to start your server - for real! If everything worked properly, a server GUI will open up:

Server stats are in the upper-left corner, player list is in the lower-left corner, and to the right is your server console and logs. Once the log stops scrolling and you see "Done", your server is online!

By default, your Minecraft server will be available to your PC on port 25565. You can change this port (and many other config settings) in server.properties:

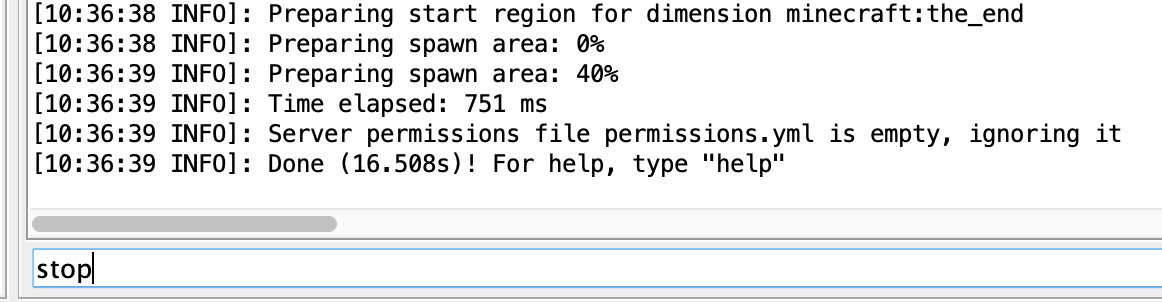
For a detailed explanation of what all these settings do, check out the Minecraft Wiki. Right now, you don't need to change anything. You can if you'd like to, though. For now, stop your server before moving onto the next section. You can do that by typing "stop" in the console command line and pressing Enter:
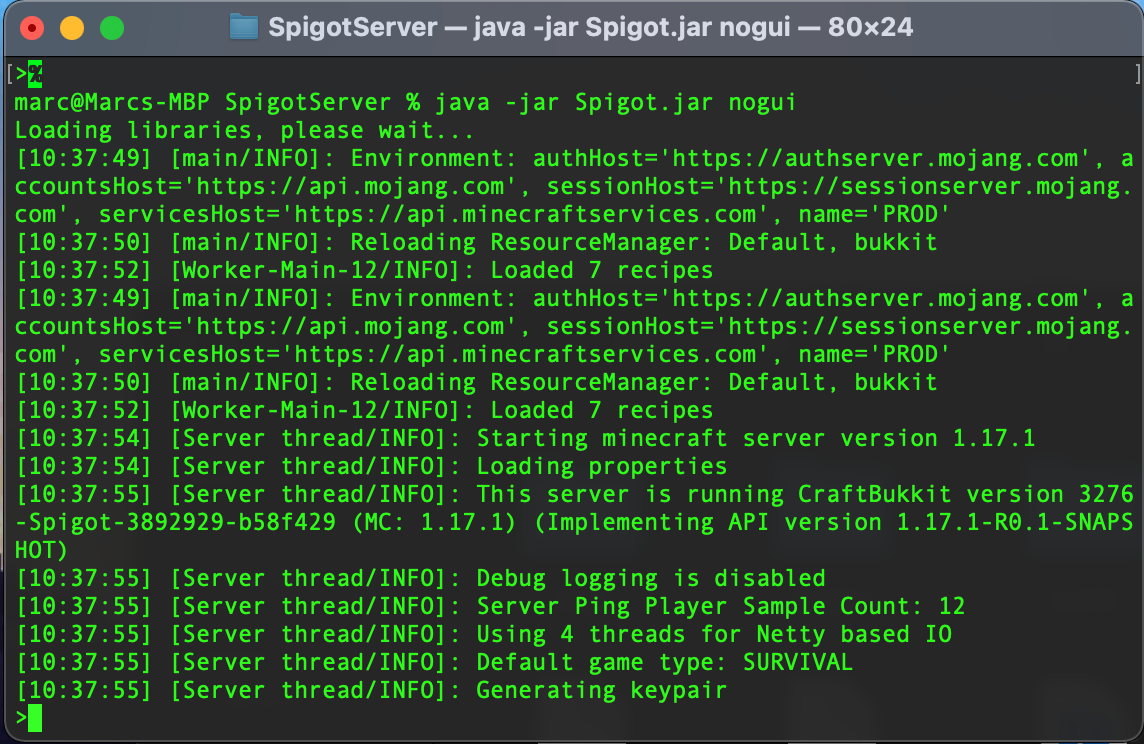
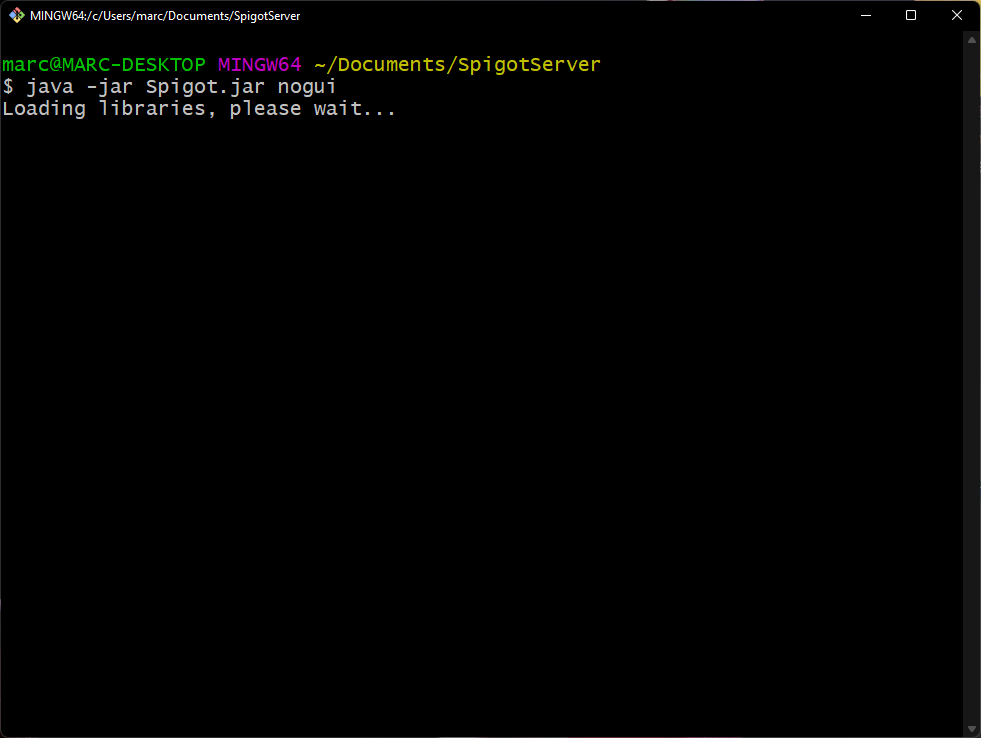
Note: If you'd prefer to see your console directly in your terminal rather than in the GUI, add "nogui" to the end of your Java start command: java -jar Spigot.jar nogui.
If you'd like to, you can also join your server to test it out! Open the Minecraft launcher and launch the game. To connect to your server, since it's running locally on your PC, you'll Direct Connect to the Server Address localhost, or 127.0.0.1:
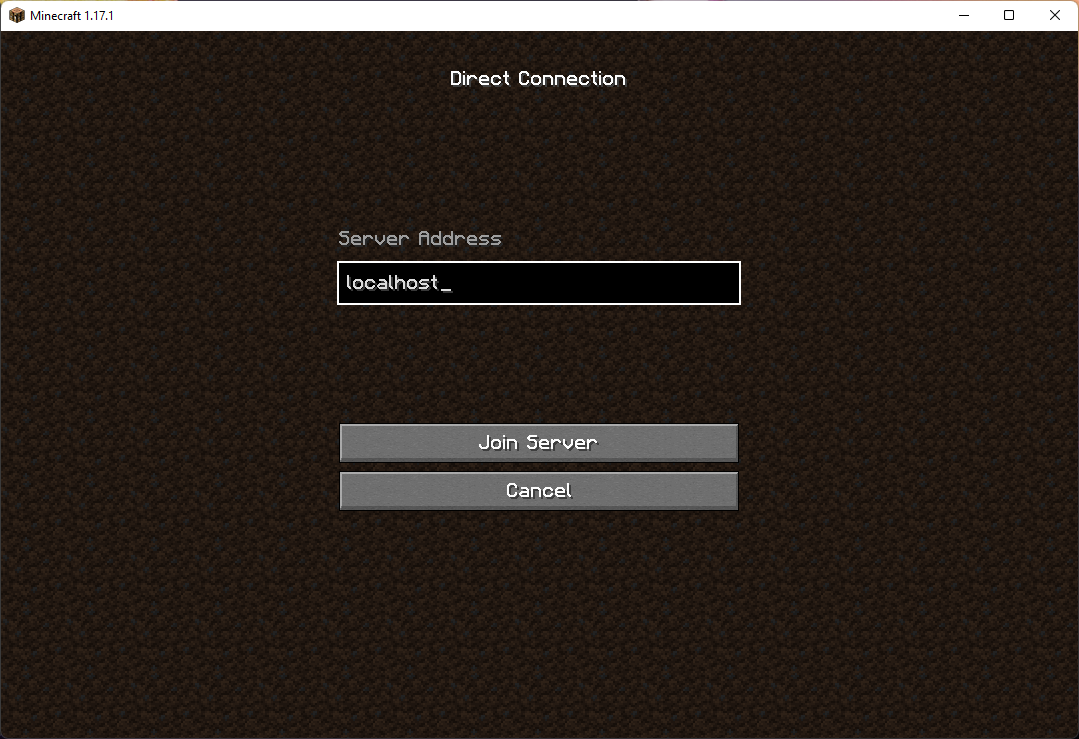
Note: Make sure you launch the same version of Minecraft as the server; in this case, it's 1.17.1.
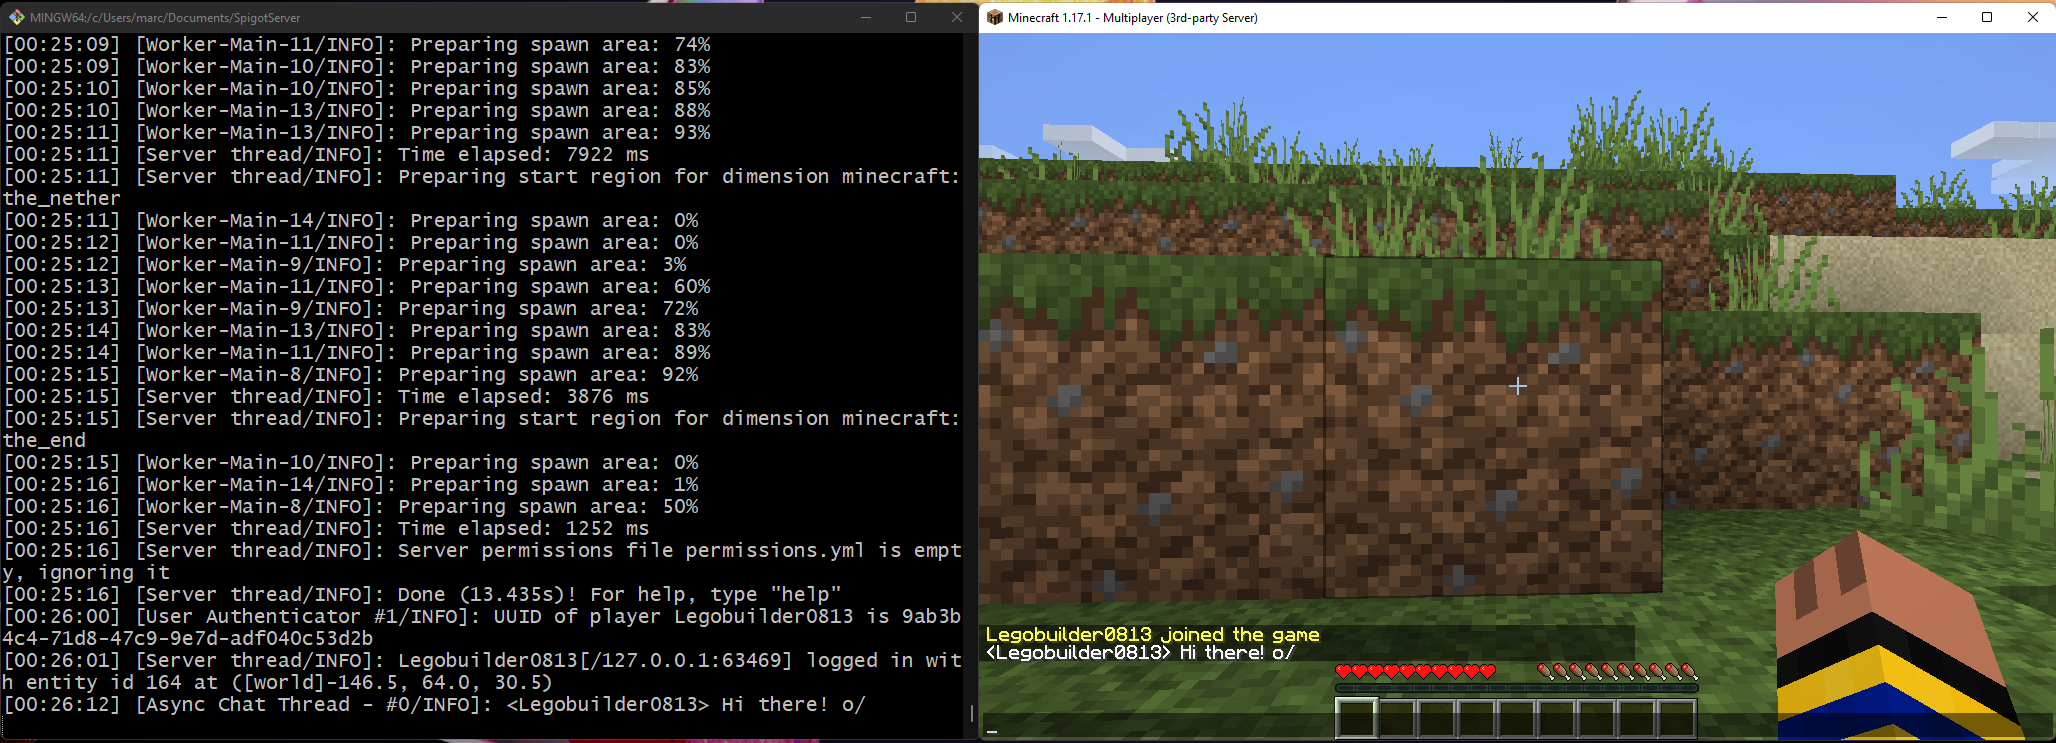
When you join, you should see messages in the server console saying that you joined:
Now that you have a Spigot test server, we can finally test your plugin! It won't do much right now, but that's okay! In your Spigot server folder, there should be a plugins folder. Copy your plugin JAR file from your IDE to this folder:

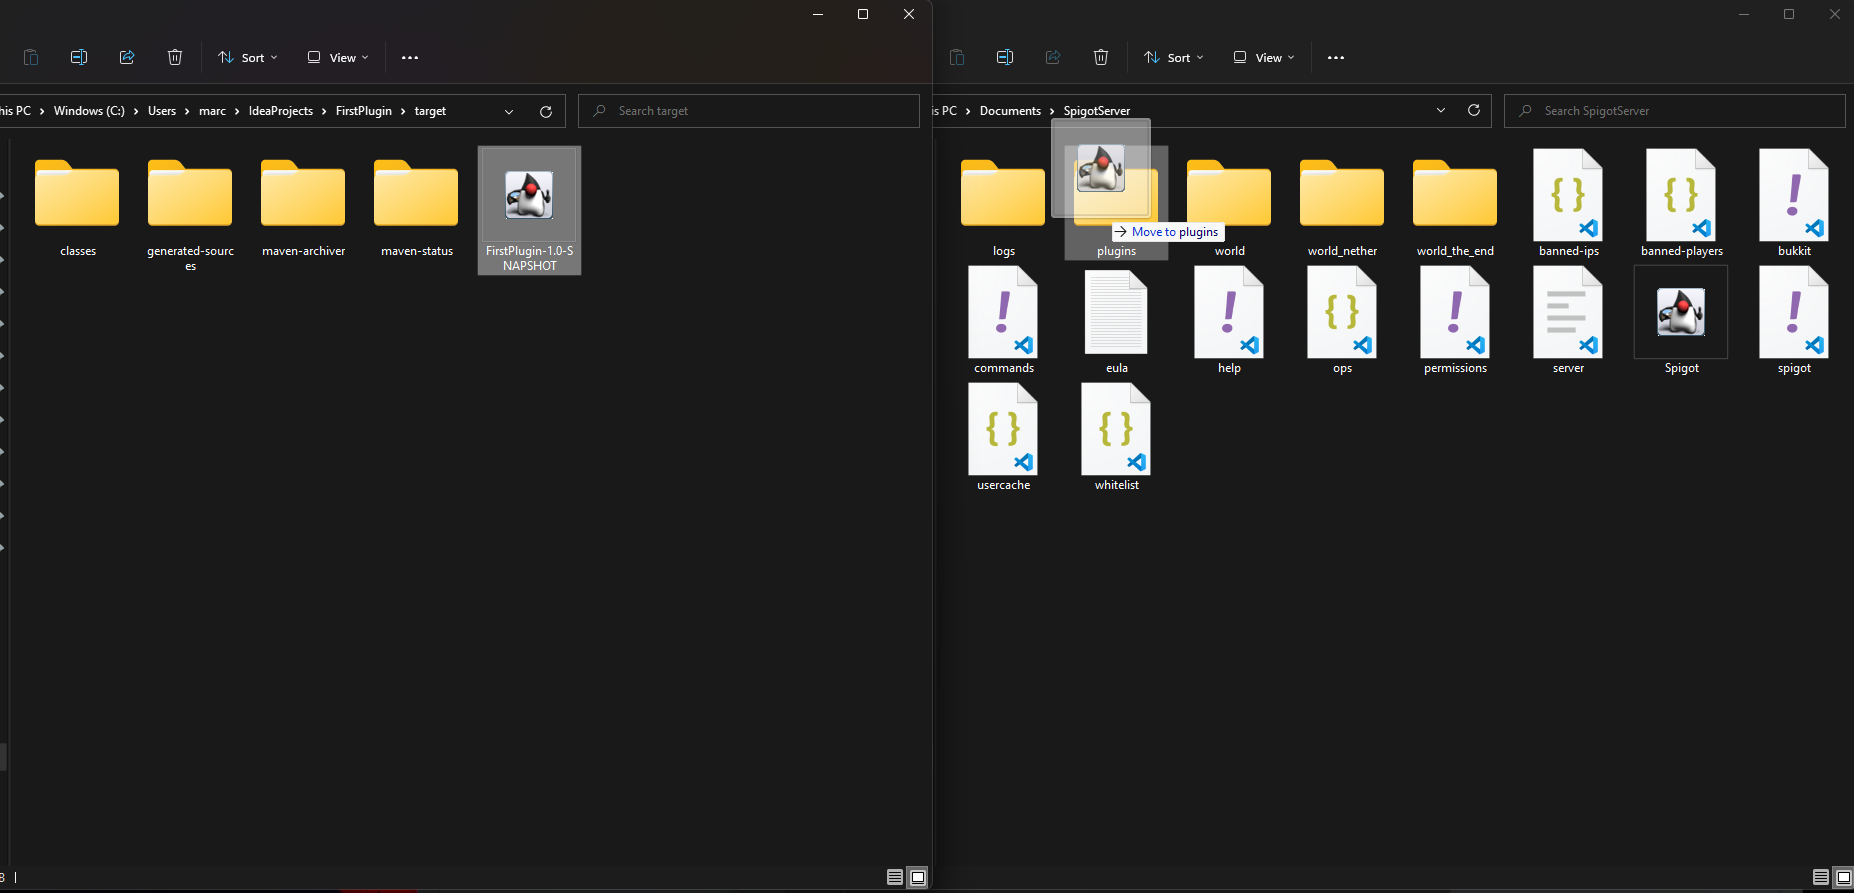
Note: You can add new JAR files to the plugins folder while the server is running, but they won't be loaded until the server is restarted. It is not recommended to remove a JAR file from the plugins folder while the server is running, as this can lead to data loss.
All that's left to do is start up your server!
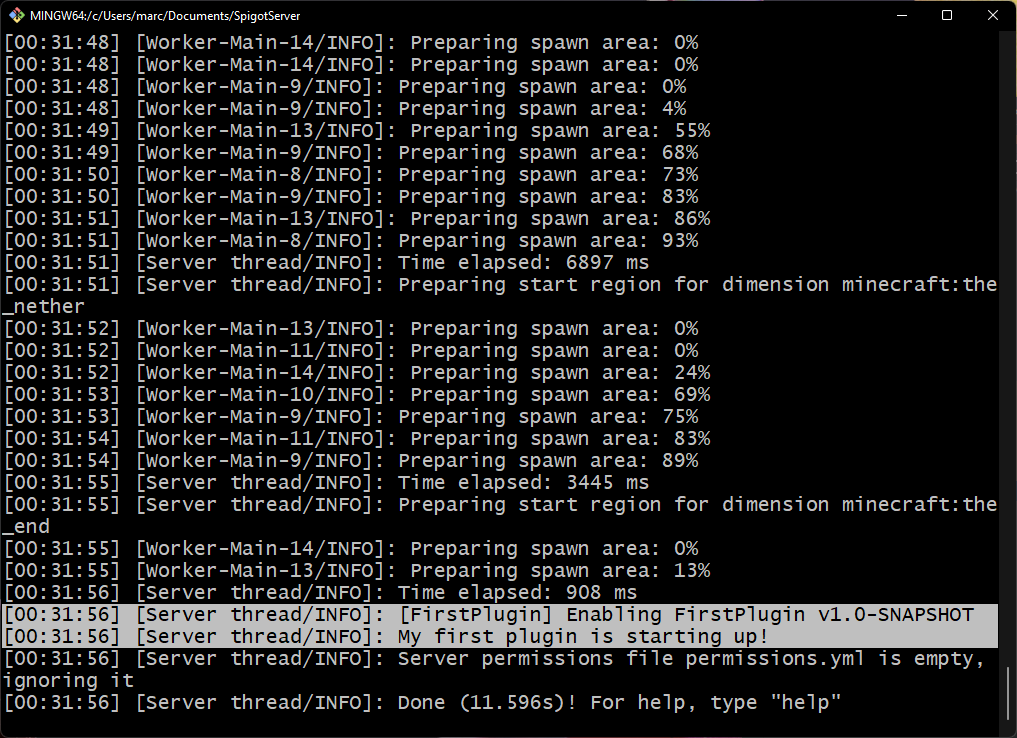
If you see your print statement from your onEnable method, that's great - it worked!
If the plugin didn't work properly, it's likely due to your plugin.yml file. For a full explanation of how to write this file, review Part 3 of this series. Here are some common errors you might run into:
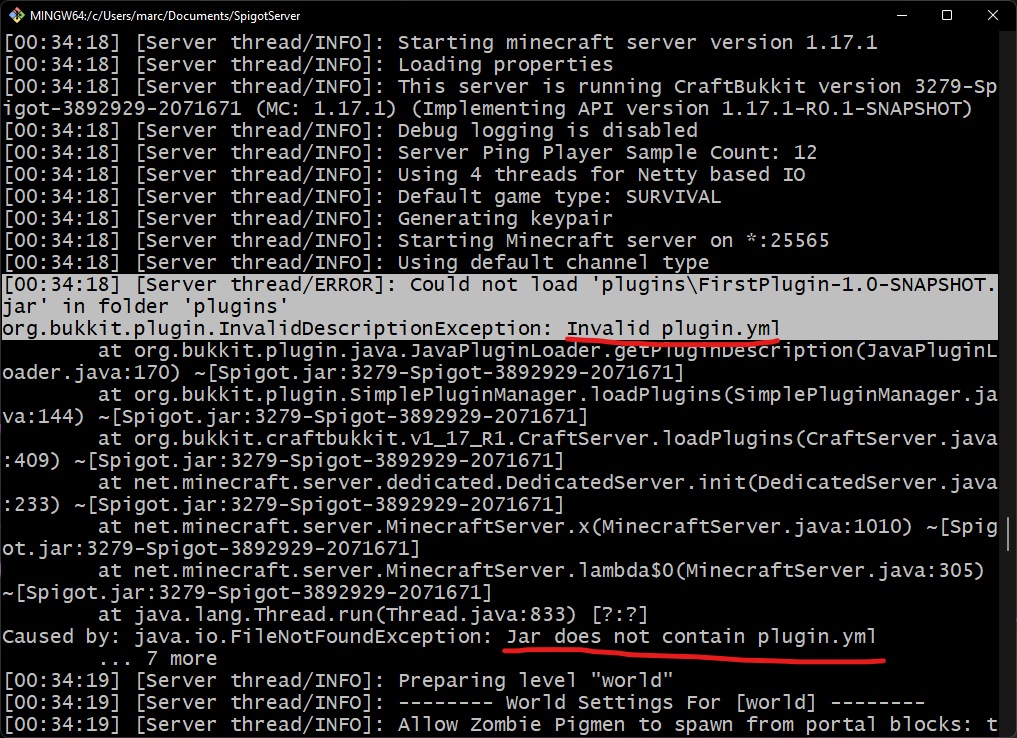
1) Invalid plugin.yml - This usually happens if you forgot to create a plugin.yml file, or if you didn't create it in the proper place. Make sure you create a plain text file at src/main/resources/plugin.yml.

2) Cannot find main class - This happens when the main value you put in your plugin.yml file doesn't match the actual path of your Main Class. These values are case-sensitive, so make sure they have proper capital letters where needed!
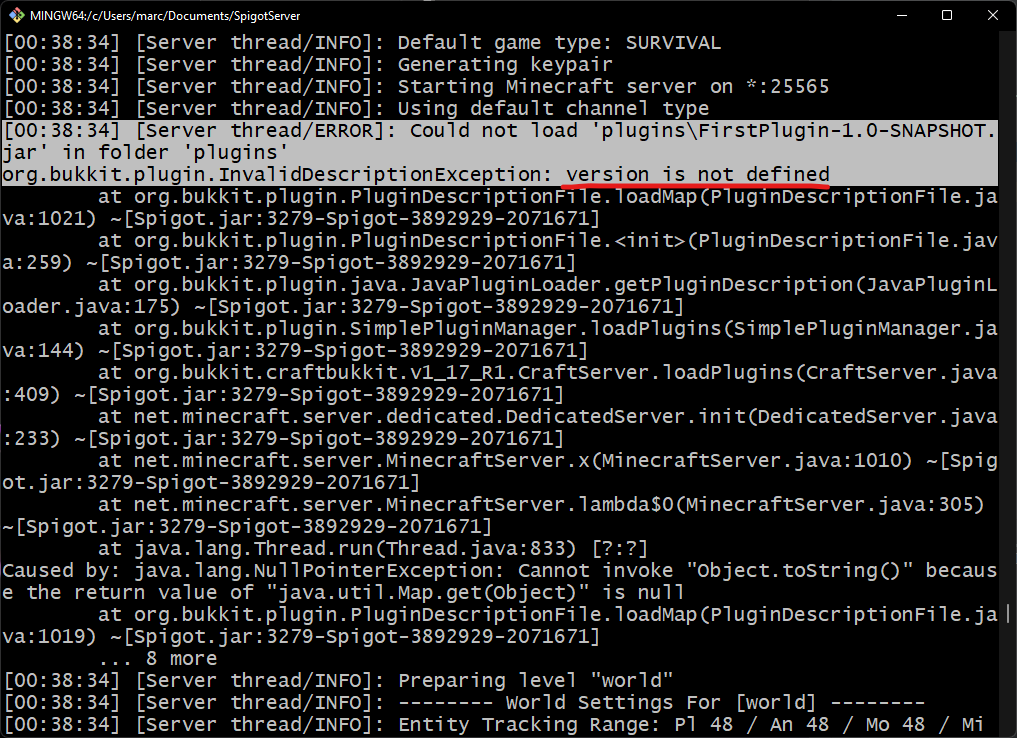
3) name/version/main is not defined - All plugin.yml files must have three values: name, version, and main. If your plugin.yml file is missing one of these values, you will get this error.
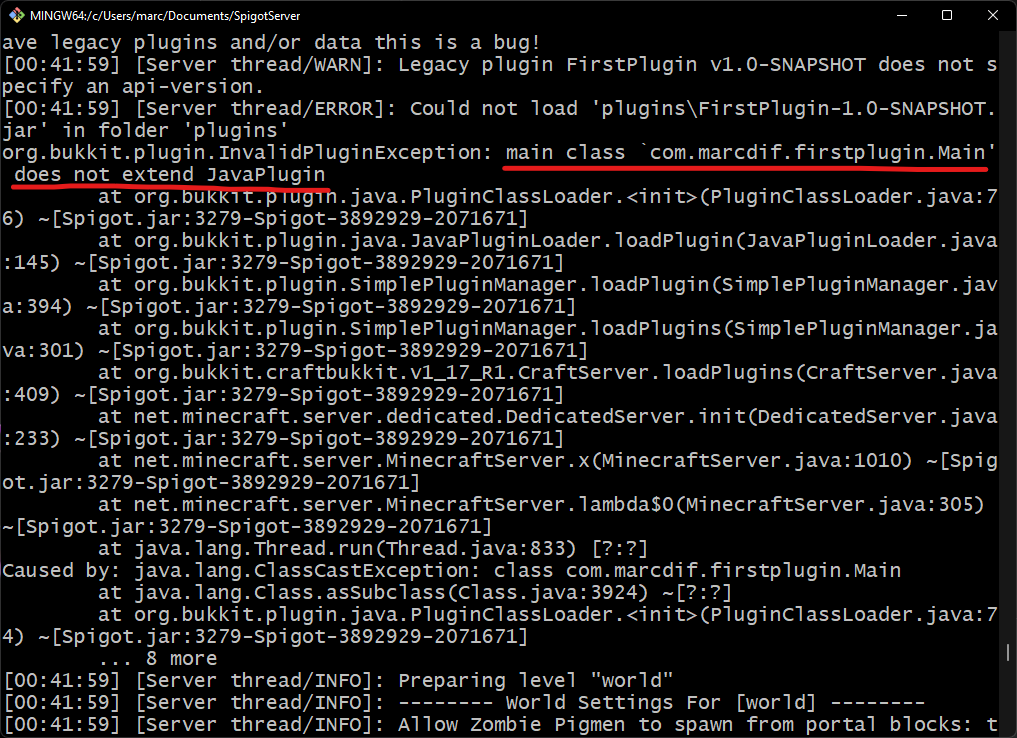
4) main class does not extend JavaPlugin - This is an uncommon error (especially if you've been following this series), but it happens when your Main Class doesn't have extends JavaPlugin after public class Main. For more on how to fix this, and why it's needed, review Part 3 of this series.
If you've made it this far, that's fantastic! You now have a JDK installed on your PC, an IDE (IntelliJ) where you can write and compile Java code, and a Spigot server where we can test your plugin. It's been a lot of work to get to this point, but it's all been very important. Now we can start working on some really cool features!
In the next part, we will cover Listeners. These will allow you to have code execute on certain events - like when a player joins your server, when a block is broken, when a mob is attacked, etc. They are very useful!
Part 1 - Introduction
Part 2 - Setting up your IDE and JDK
Part 3 - Writing some Java code
Part 4 - Testing Your Plugin
Part 5 - Coming soon!